
Last updated November 15, 2026
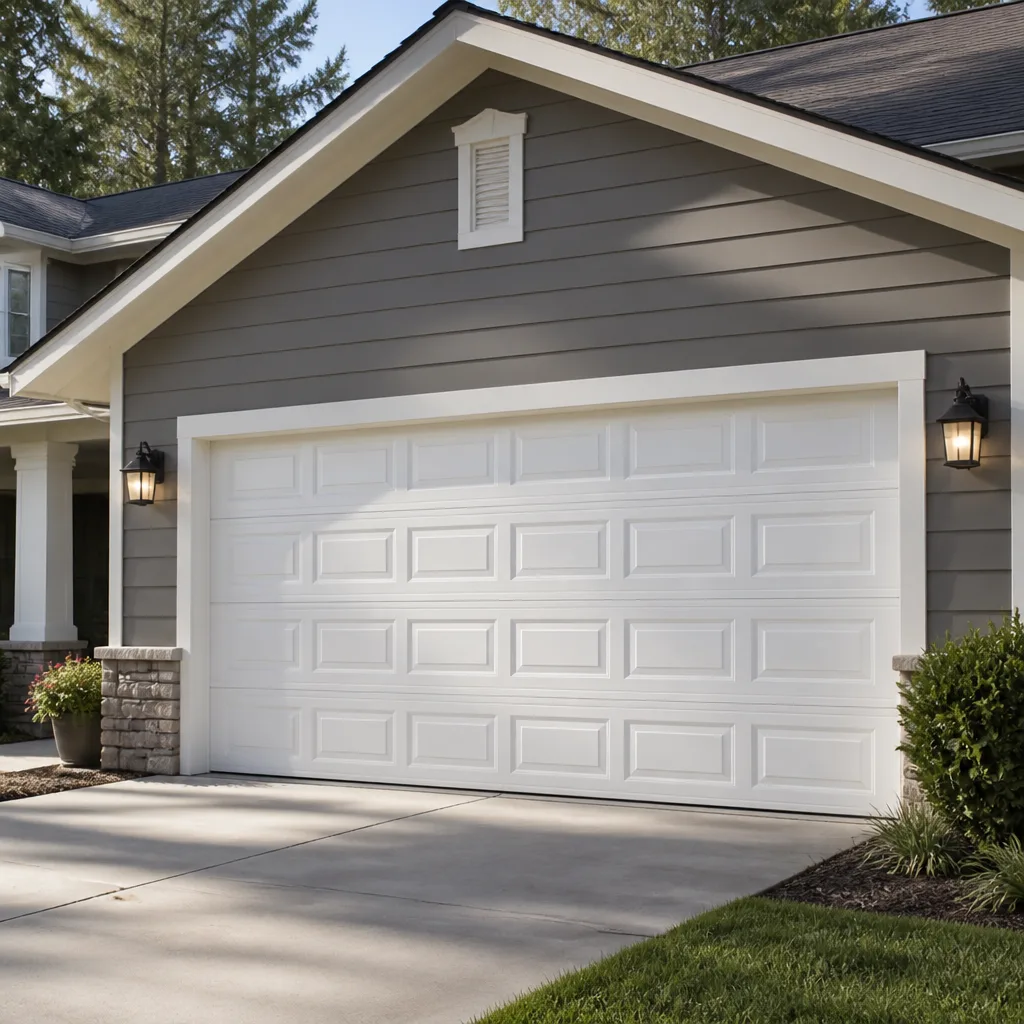 Raised-panel steel
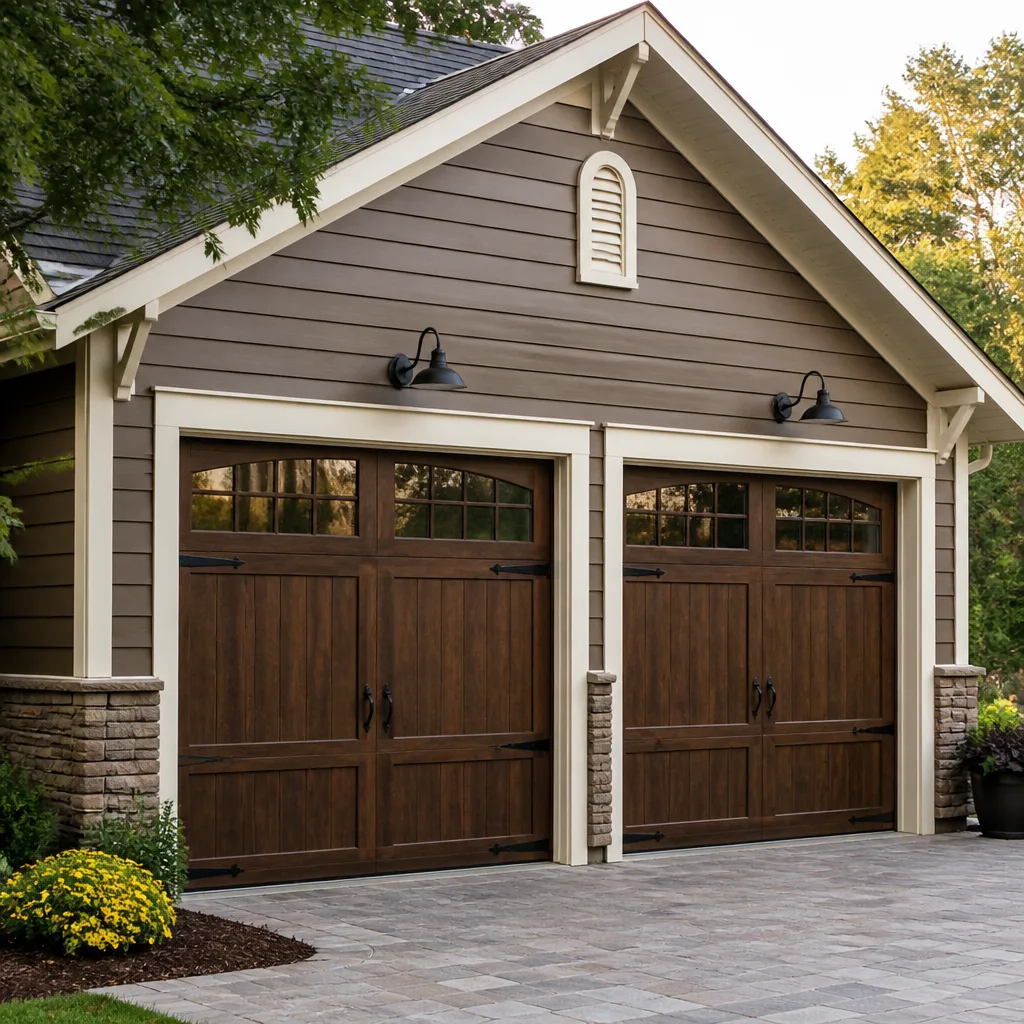 Carriage house
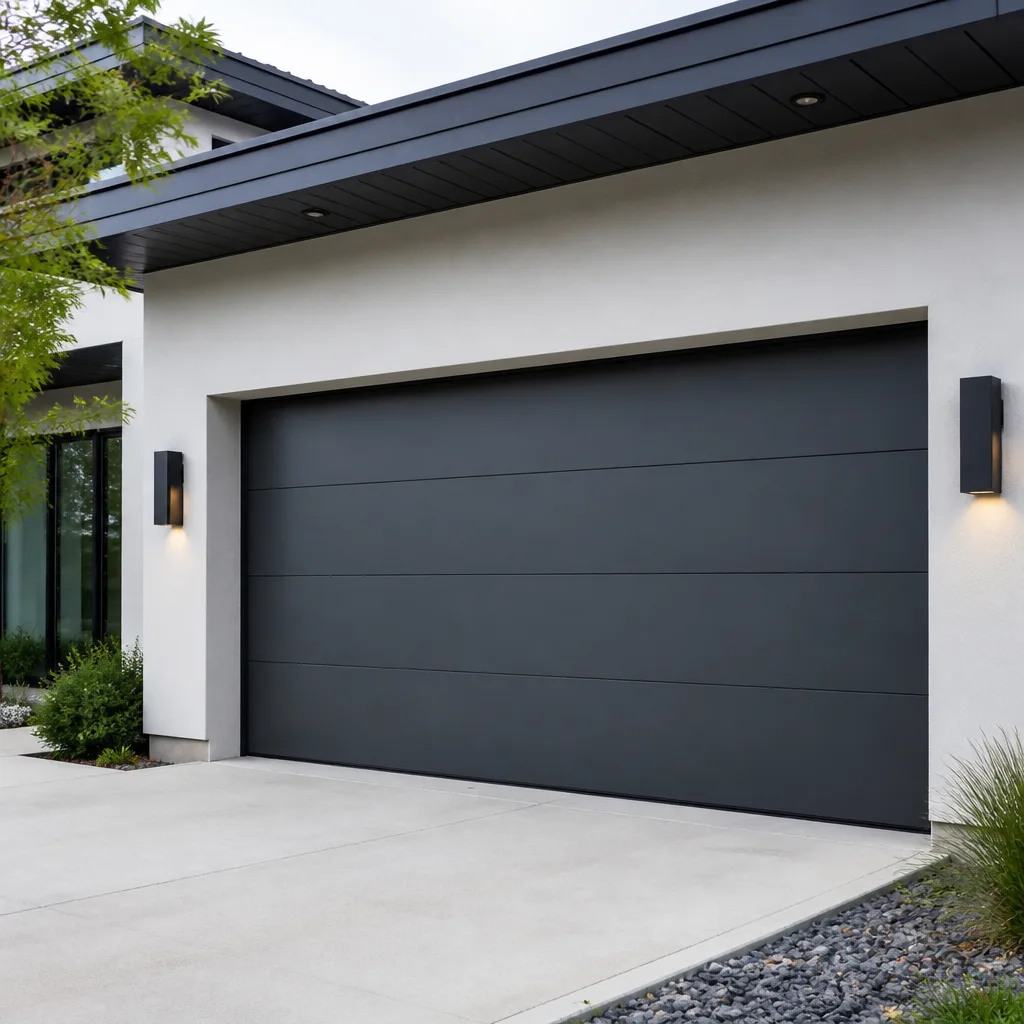 Modern flush
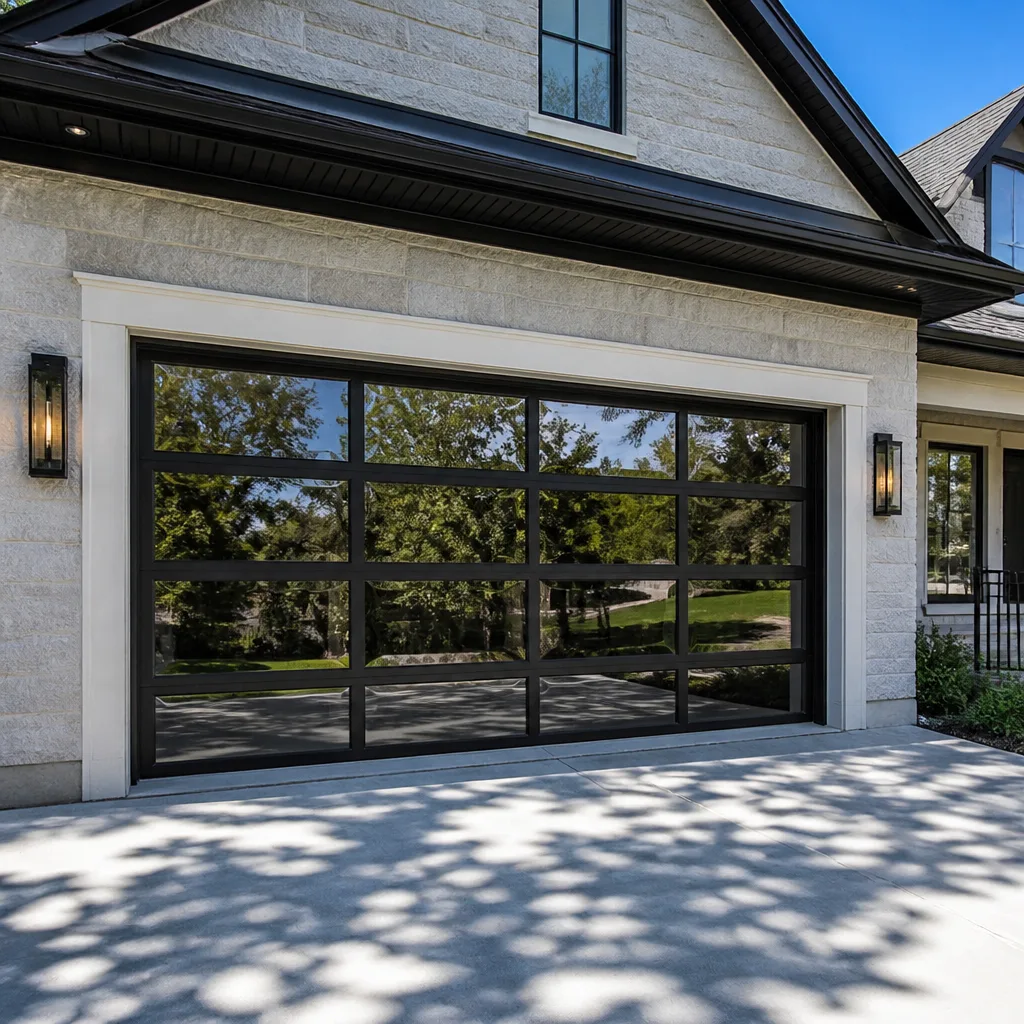 Full-view glass
 LiftMaster openers
 Chamberlain openers
Full 25-point door and opener safety check with every visit - springs, cables, rollers, tracks, and your LiftMaster or Chamberlain opener included
You get a price before we start. It does not change when the pro arrives.
Get your free estimateGarage Door Repair Maintenance Schedule: What to Do and When
Most garage door maintenance checklists floating around the internet were written for a climate that isn’t yours. Four times a year, oil the chain, done. But a door in Norfolk lives through something different: an August that pushes humidity through the roof, then a winter that swings temperatures hard enough to contract metal and stiffen grease. That cycle is what actually breaks doors here, not neglect alone. This guide builds a maintenance calendar around when Norfolk doors genuinely fail, walks through the tasks you can safely handle in under 30 minutes, flags the ones that need a trained hand, and shows you a ten-minute balance test that can warn you about a failing spring weeks before it lets go. You’ll also learn which lubricants help and which common products quietly do damage.
Quick Answer
A garage door in Norfolk needs lubricant on springs, hinges, and rollers every three to four months, a balance and safety-reverse test monthly, and a full professional inspection once a year. Time the heavy maintenance for late September, after summer humidity peaks, and again in late November, before the first hard temperature swings. Bottom seal checks should happen monthly because a failed seal is the most costly secondary-damage risk in this climate.
Styles & brands we work with
- Raised-panel steel
- Carriage house
- Modern flush
- Full-view glass
- LiftMaster openers
- Chamberlain openers
Table of Contents
- Why a Norfolk Garage Door Needs Its Own Calendar
- The Monthly Ten-Minute Checks
- The Norfolk Month-by-Month Maintenance Calendar
- Which Lubricants to Use, and Which to Avoid
- The Ten-Minute Balance Test That Predicts Spring Failure
- What You Can Do Yourself vs. What Needs a Professional
- The Bottom Seal: The Task That Prevents the Most Expensive Damage
- Pre-Winter Prep and the Opener Check
Why a Norfolk Garage Door Needs Its Own Calendar
Norfolk sits in a pocket of the mid-Atlantic where humidity doesn’t just rise in summer; it hangs. A single August here can cycle a garage from damp morning air to afternoon heat and back again dozens of times, and every one of those cycles pushes moisture into the same places: hinge pins, roller bearings, the tracks, and the bottom seal. That’s the opposite of a dry-climate door that mostly fights dust. Here, the enemy is moisture and the corrosion and stiffness it leaves behind.
Then winter arrives, and the problem flips. Cold air contracts the steel tracks and the door panels. Grease that was fine in July turns tacky. Springs, which are already under constant tension, become more brittle in the cold. The stress on a Norfolk door isn’t evenly spread across the year; it spikes in two places. Late summer, when humidity has had months to work on every moving part, and early winter, when the first real cold snap hits a door that hasn’t been touched since spring.
That’s why a generic quarterly checklist misses the point. It treats every season the same. A schedule built for Norfolk should put the real work right before those two spikes: a thorough lubrication and inspection pass in late September, after the worst of the humidity, and another in late November, before the cold sets in. Everything else in the year is lighter maintenance and monthly checks. If you want a sense of how we approach the whole system, from the opener motor to the bottom seal, our Juniper Garage Door Repair team handles that full range, and it’s the reason we built this calendar around local conditions rather than a template.
The Monthly Ten-Minute Checks
These are the tasks worth doing once a month, and the whole set takes about ten minutes. They’re your early-warning system. None of them require tools beyond your hands and eyes, and none put you near the springs or cables, which are the genuinely dangerous parts of a garage door.
- Look at the bottom seal. Run your eyes along the rubber strip at the base of the door. You’re checking for cracks, tears, a section pulling away, or a gap when the door is closed. Any of these means moisture and pests can get in.
- Watch the door travel. Open and close it once and just watch. It should move smoothly, without jerking, slowing in one spot, or drifting to one side. A door that shimmies is telling you something is out of balance.
- Listen. A healthy door is quiet-ish. Grinding, squealing, popping, or a bang at the end of travel are all sounds worth noting before they become a repair.
- Test the safety reverse. With the door open, place a rolled-up towel or a piece of wood flat under the door path and close it. The door should reverse when it meets the object. If it doesn’t, stop using the opener until it’s fixed.
- Check the photo-eye sensors. Wave an object in front of each sensor near the floor. The door should refuse to close. Wipe any dust or cobwebs off the lenses.
- Glance at the hardware. Look for loose bolts on the hinges and the bracket that holds the door to the opener arm. A quick tightening with a wrench is fine. Don’t touch the springs or the cables.
If any of these checks turns up a problem, note it and keep going. You’re building a list of what needs attention, not fixing everything on the spot. The door will keep working long enough for you to schedule the rest.
The Norfolk Month-by-Month Maintenance Calendar
Here’s the calendar we actually recommend for a Norfolk door. It’s built around the two stress spikes described above, with lighter tasks filling the gaps. You don’t have to follow it to the letter, but the timing matters more than people expect.
- January: Cold-weather check. Listen for new sounds as the door contracts in the cold. Look at the weatherstripping around the frame for drafts. If the door sounds louder than it did in fall, the rollers or hinges have stiffened.
- February: Light lubrication on hinges and rollers. Check the bottom seal again after winter rain.
- March: Spring is here and the door is about to work harder. Do the balance test and safety-reverse test. Look for rust starting on the tracks, which is more common after a damp winter.
- April: Clean and inspect the tracks. Wipe them down and check for dents or debris. Don’t lubricate the tracks themselves; that attracts grit.
- May: Pre-summer pass. Check the opener’s force settings if the door has been running heavy. Confirm the sensors are aligned.
- June: Month off from the heavier tasks. Monthly checks only. If you’re going to be away, do the balance test before you leave.
- July: The humidity is building. Wipe down hinges and check for stiffness. This is a good time to look at the bottom seal, which takes the brunt of ground moisture.
- August: Peak humidity. Don’t wait for fall; if the door is already stiff or noisy, lubricate hinges and rollers now. This is the month Norfolk doors give the most trouble.
- September: The big one. Full lubrication of springs, hinges, and rollers. Full inspection. This is the reset that gets the door ready for the next several months.
- October: Check the weatherstripping and bottom seal for wear from the summer. Confirm the safety reverse still works.
- November: The second big one. Lubricate again before the cold. Check the opener’s drive system (belt, chain, or screw) for slack or wear.
- December: Light check. Listen for cold-weather noises. Make sure the door still closes fully against the seal.
If you live near the older housing stock in neighborhoods like Ghent or Larchmont, the wooden framing around a door can swell and shrink with the seasons more than newer construction, so watch the tracks and the frame closely in the transition months. The calendar above is a starting point, and the monthly checks are what tell you whether your particular door needs more.
Which Lubricants to Use, and Which to Avoid
Lubricant choice matters more than people realize, and the most common product on the shelf is the wrong one for a garage door. Here’s how to sort it out.
For springs: use a proper garage door lubricant made for springs, or a white lithium grease. These stay put under tension and don’t attract dust the way some oils do. A light spray-on product designed for the purpose is fine. The goal is a thin protective coat, not a dripping mess.
For hinges and rollers: a silicone-based lubricant or a garage-door-specific spray works well. Hinges have metal-on-metal contact and want a coating that reduces friction without grabbing grit. Rollers, especially nylon ones, generally want less rather than more. A little goes a long way.
What to avoid: WD-40 is the big one. It’s a fantastic penetrating oil and a poor long-term lubricant. It evaporates, and in doing so it can flush out the grease that was actually protecting a component, leaving it drier than before. It’s fine for loosening a stuck bolt, but it’s not what you want on springs or hinges as ongoing care. Similarly, heavy motor oil and generic household grease tend to collect dust and grit, which turns into a grinding paste in the moving parts. Avoid anything that isn’t labeled for garage doors or the specific material you’re treating.
One more thing: never spray lubricant on the tracks. The tracks are meant to stay clean and dry; rollers ride on them and lubricant on the track surface just attracts debris and makes the door run worse. Wipe the tracks down with a dry cloth instead.
The Ten-Minute Balance Test That Predicts Spring Failure
This is the single most useful test you can do, and it takes about ten minutes. It tells you whether the door is balanced and, just as importantly, whether one spring is doing more work than it should, which is an early sign that it’s on its way out. Do not attempt this if the door feels heavy, if anything looks bent, or if you can hear the springs creaking when you move the door. In that case, call a professional.
- Disconnect the opener. Pull the emergency release cord so the door is on manual operation. You’re testing the door itself, not the opener.
- Raise the door to about halfway. Do it by hand, slowly.
- Let go. A balanced door stays roughly where you left it. It might drift inches, but it shouldn’t fall, and it shouldn’t rise on its own.
- Watch how it behaves. If it slides down, one or both springs are losing tension. If it rises on its own, the springs are wound too tight. If it drops hard, stop and call a pro; a heavy door is a broken or failing spring.
- Repeat at the quarter and three-quarter positions. A door should feel consistent through its travel. If it’s easy in one spot and heavy in another, the spring tension is uneven.
What this predicts: springs don’t usually break without warning. They lose tension gradually, and the balance test catches that drift weeks before a spring snaps. If the door that stayed put last month now drifts down a foot when you let go, that spring is telling you it’s nearing the end. That’s useful because it lets you schedule a spring replacement before it fails, rather than after it strands you. Springs are also the one component where we strongly advise against DIY work; they’re under high tension and can cause serious injury if handled wrong. Our garage door repair service regularly replaces springs on the strength of a balance test alone, and the technicians know how to read which one is the weak link.
What You Can Do Yourself vs. What Needs a Professional
Most maintenance is safe for a homeowner. A few tasks genuinely require training, and knowing the difference protects both your door and you.
Safe for you, under 30 minutes:
- Lubricating springs, hinges, and rollers with the right product
- Wiping down and inspecting the tracks
- Checking and replacing the bottom seal
- Testing the safety reverse and the photo-eye sensors
- Tightening loose hinge and bracket bolts with a wrench
- Running the balance test (with the caveats above)
- Cleaning the photo-eye lenses and adjusting their aim
Needs a professional:
- Replacing springs or cables. These are under high tension and are the leading cause of serious garage door injuries. Don’t touch them.
- Replacing or realigning tracks. A bent track is a precision problem; forcing it makes it worse.
- Replacing rollers that have failed or seized, especially on a door that’s already out of balance.
- Adjusting opener force limits or travel limits if you’re not sure how the opener is set up.
- Diagnosing a door that’s become genuinely heavy or unpredictable.
- Replacing a broken panel or repairing structural damage.
The line is simple: if a task involves the springs, the cables, or the structural alignment of the door, it’s a pro job. Everything that involves cleaning, lubricating, testing, and replacing the seal is fair game for a careful homeowner. Our technicians have up to 13 years of experience and work across every major brand, from Amarr and Wayne Dalton to Craftsman and Raynor, so when a DIY check turns up something that needs more than a wrench, we already know the quirks of that system.
The Bottom Seal: The Task That Prevents the Most Expensive Damage
If you skip one task on this list, don’t let it be this one. The bottom seal is the rubber strip along the base of the door, and in Norfolk’s humid climate it’s the most common starting point for expensive secondary damage.
Here’s the chain reaction. The seal cracks or pulls away. Ground moisture and humid air get under the door and into the garage. That moisture works on the bottom panel, the hinges near the floor, and any stored items. Over time the bottom panel can delaminate or rust, the hinges seize, and the door starts to drag. What began as a strip of rubber that costs very little to replace becomes a panel repair or a full-door problem. That’s the expensive part, and it’s entirely preventable.
Checking the seal takes two minutes. With the door closed, look along the base. If you can see daylight under it, or if the rubber is cracked, torn, or pulling loose, it needs replacing. Replacing the seal is one of the safe, homeowner-friendly tasks: the new strip slides or clips into the retainer, and you don’t need to touch the springs or the opener. If the retainer itself is bent or the bottom panel is already damaged, that’s a job for a pro.
Given Norfolk’s humidity, we recommend checking the seal monthly and replacing it whenever it shows real wear. It’s the cheapest insurance against the most common secondary damage we see in this climate. If you want the whole system looked at, from the seal up, our Norfolk service covers it.
Pre-Winter Prep and the Opener Check
The late-November pass is the second big maintenance moment of the year, and it’s mostly about getting ahead of the cold. A door that ran fine in October can feel tight and noisy the first time temperatures drop hard, and the opener takes the strain.
- Lubricate everything that moves. Springs, hinges, and rollers get a fresh coat before the cold. Cold stiffens grease, so a door that was smooth in summer benefits from a fresh application.
- Run the balance test again. If the door has drifted since fall, you’ll catch it now rather than mid-winter.
- Check the opener’s drive system. Whether it’s a belt, chain, or screw drive, look for slack, wear, or unusual noise. A loose chain or a fraying belt is easier to address now than when the door is needed most.
- Confirm the safety reverse works in the cold. Cold can affect how the opener responds. Re-test it.
- Look at the weatherstripping around the frame. Cold air and drafts around the door edges are a sign the seal or the frame stripping has worn.
If the opener itself is aging, this is the time to have it looked at. An opener that’s straining against a stiff door is working harder than it should, and that shortens its life. Our garage door opener repair team works on the most common residential drive systems, so a noisy or sluggish opener in Norfolk gets diagnosed rather than replaced on a guess. The whole point of this calendar is to catch problems while they’re still cheap to fix, and the opener is a good example.
Common Mistakes to Avoid
- Using WD-40 on the springs and hinges. It’s a penetrating oil, not a long-term lubricant. It can flush out the grease that was protecting a part and leave it drier than before. Use a product made for garage doors instead.
- Lubricating the tracks. Tracks should stay clean and dry. Lubricant on the track attracts grit and makes the door drag. Wipe them down instead.
- Ignoring the bottom seal after summer. This is the mistake that costs the most in Norfolk’s humidity. A cracked seal lets moisture under the door and into the bottom panel and hinges. Replace it early.
- Forcing a heavy or stiff door. If the door won’t lift easily by hand, something is wrong with the springs. Don’t keep running the opener against it; that just wears the opener out and risks the door coming down.
- Treating the balance test as optional. It’s the cheapest early warning you have. Skipping it means finding out a spring is failing the hard way.
- Tightening or adjusting springs yourself. Springs and cables are under high tension and are the leading cause of garage door injuries. This is not a DIY task, no matter what a video says.
- Following a generic four-times-a-year checklist. A schedule written for a dry climate misses the humidity and cold-swing stress points that actually cause failures here. Time the work around late September and late November.
See the difference
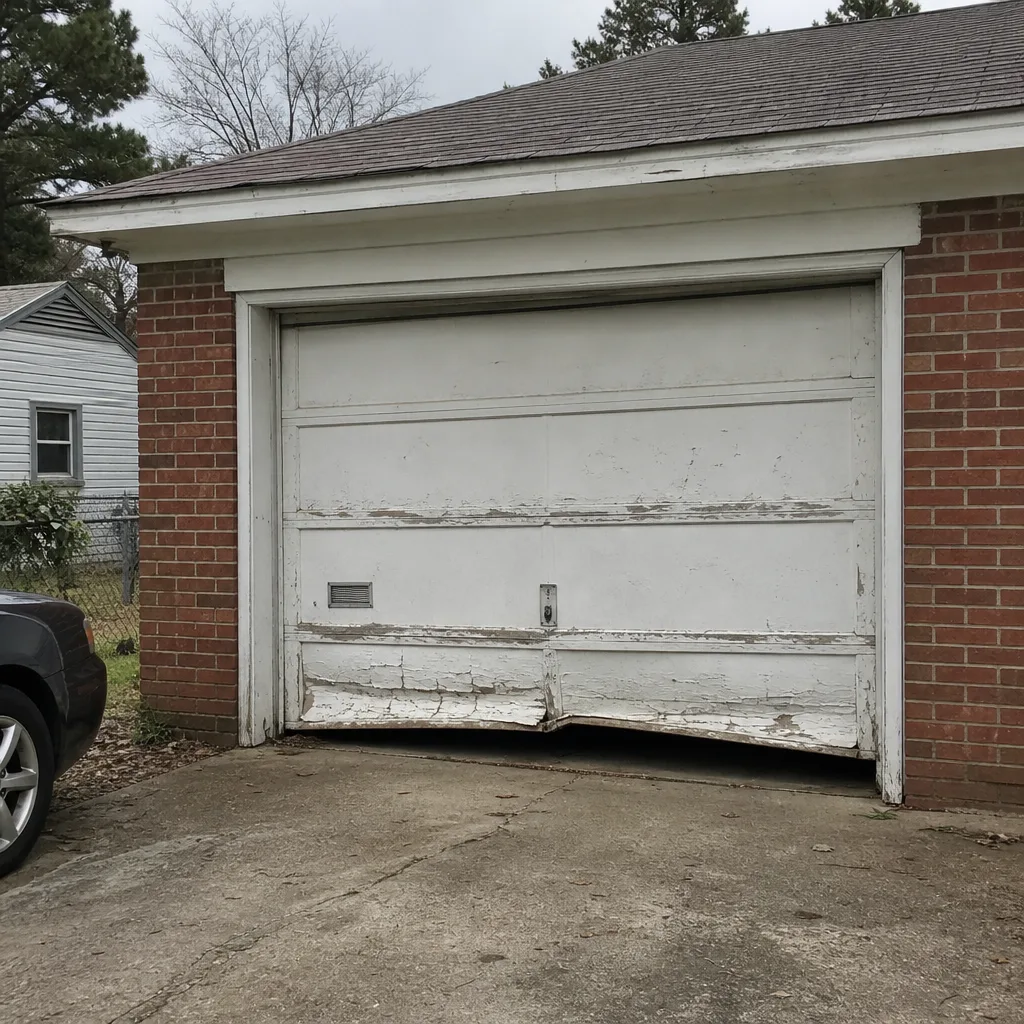 Before
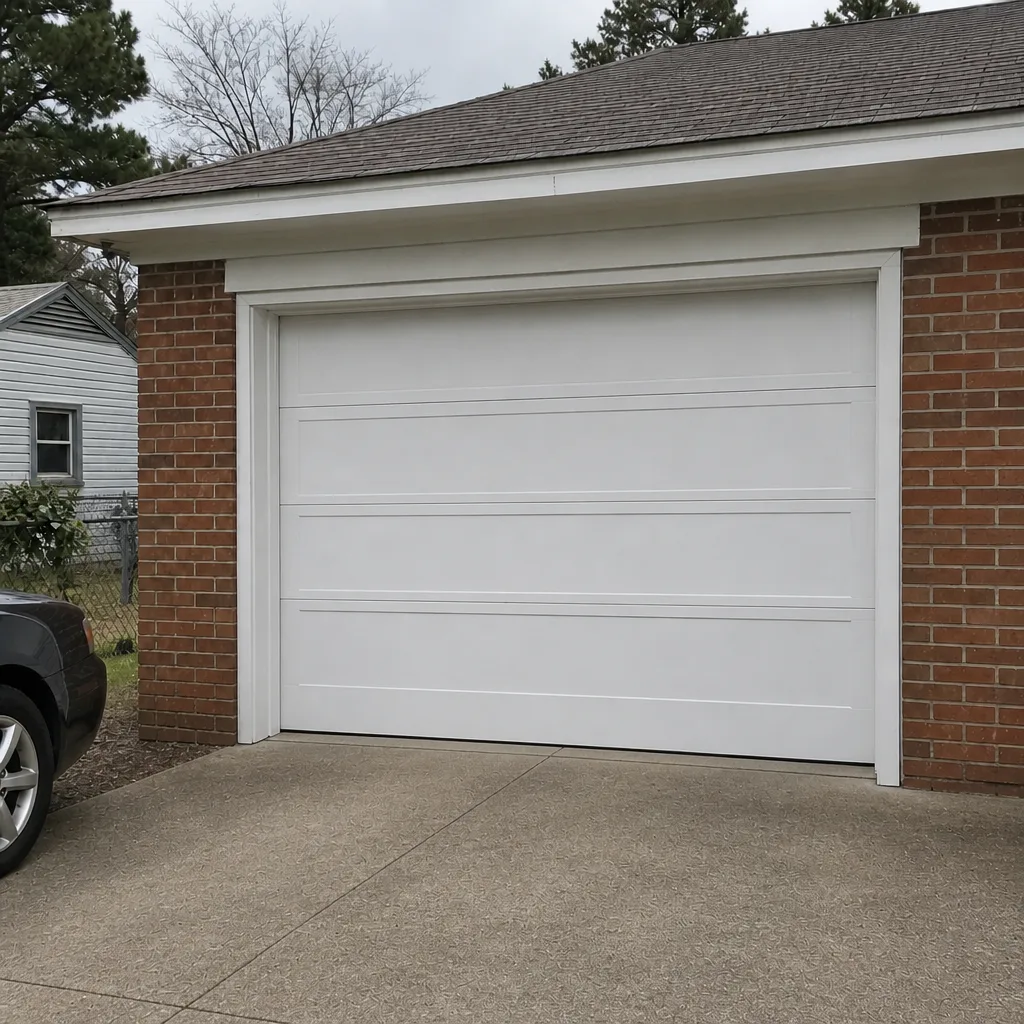 After
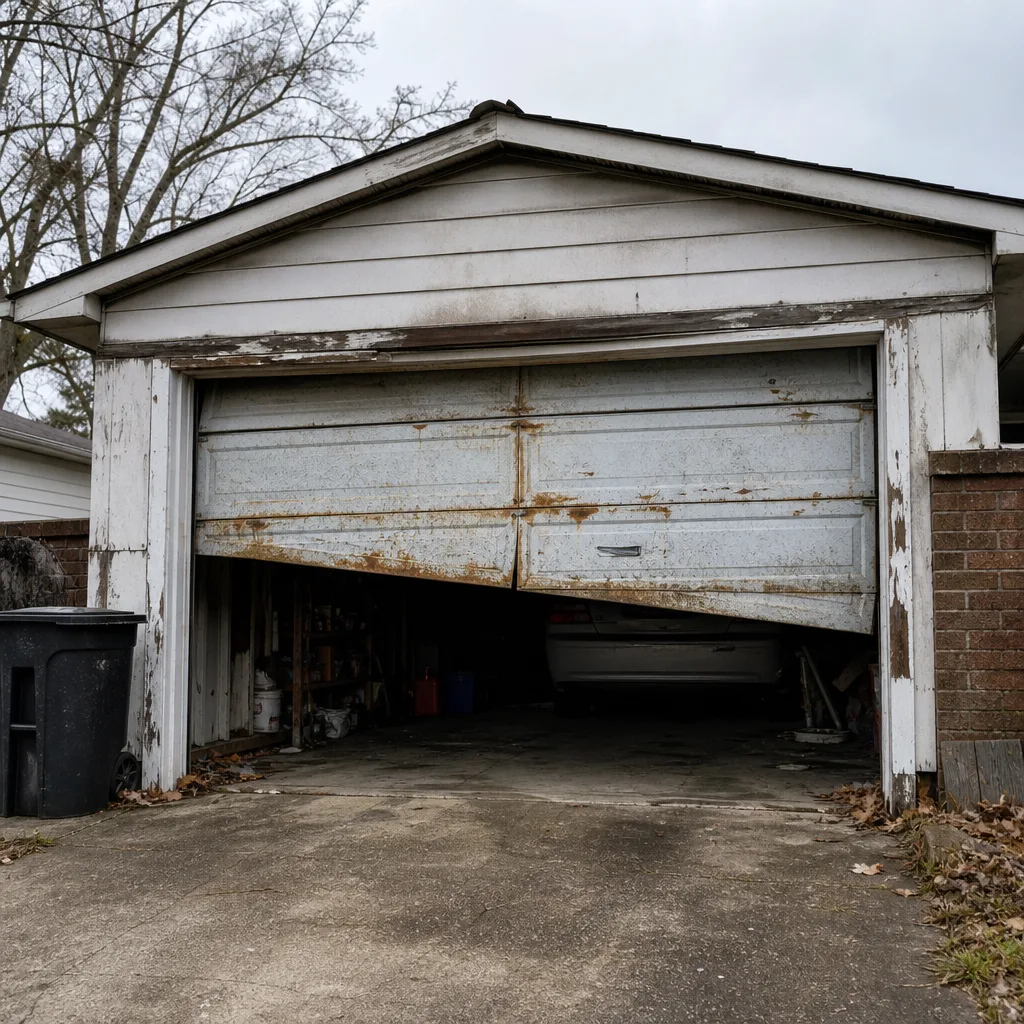 Before
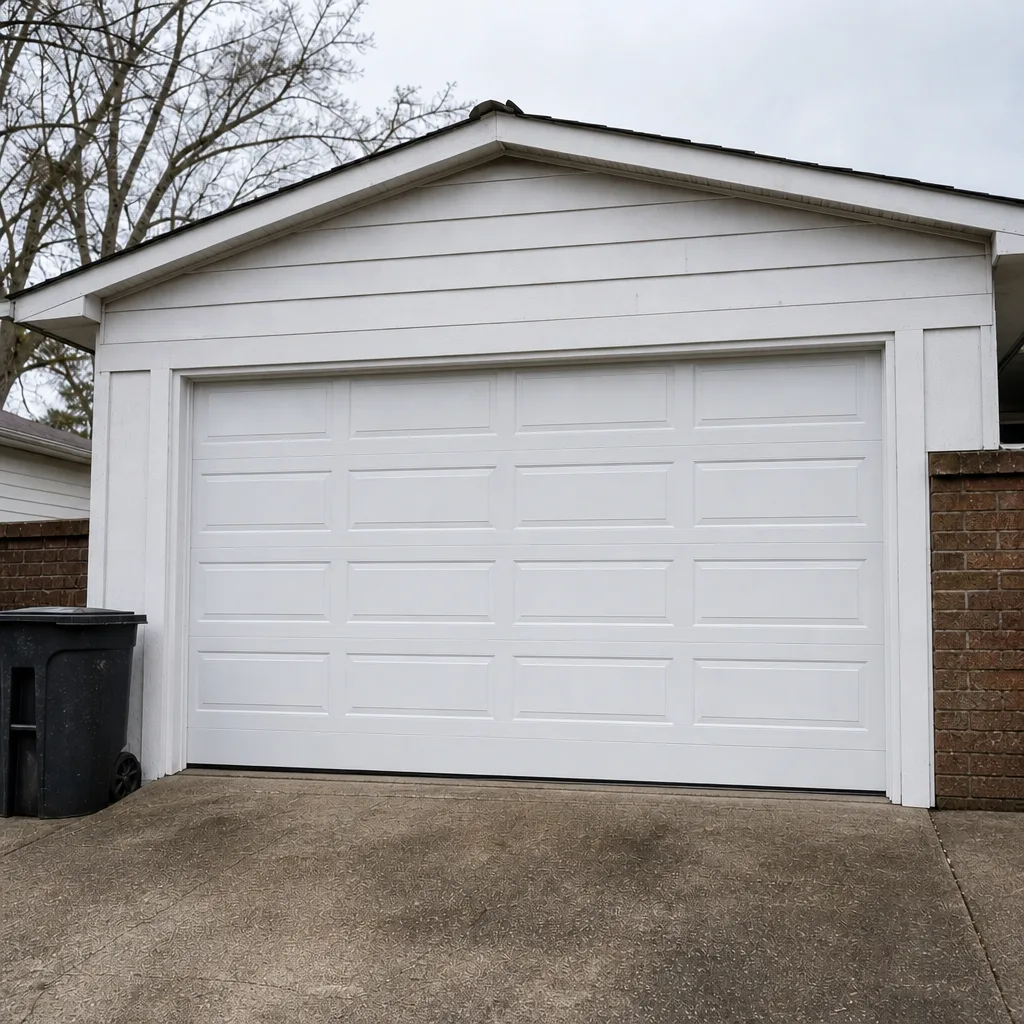 After
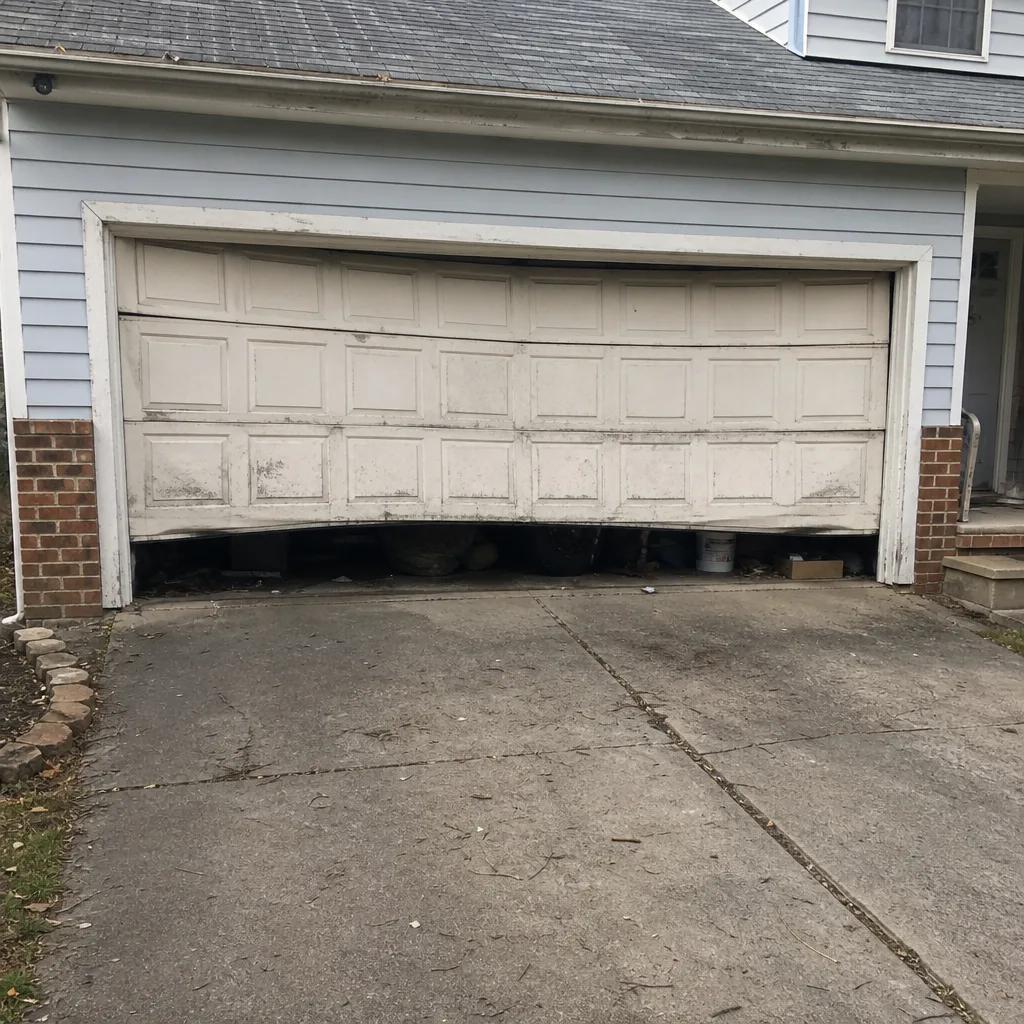 Before
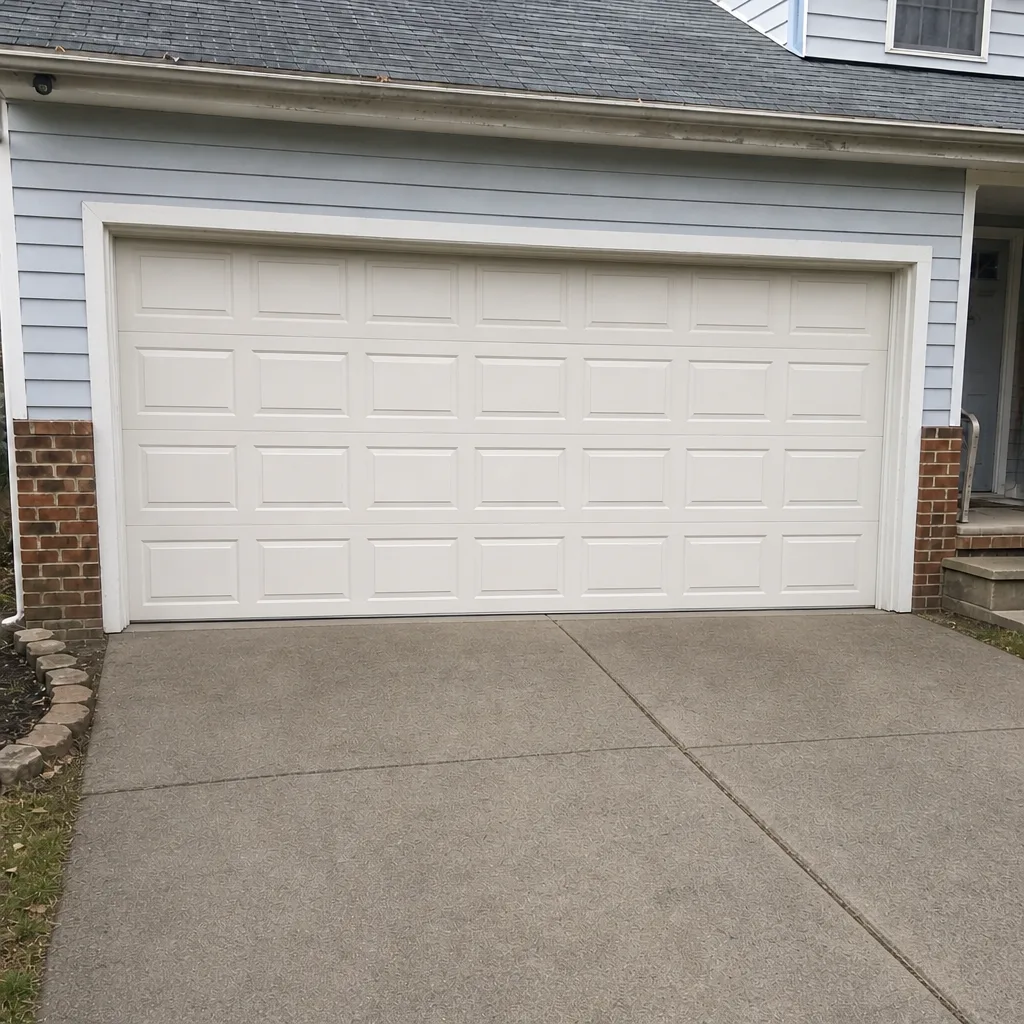 After
When to Call a Professional
Call a professional if the door feels heavy or unpredictable by hand, if you hear a bang or snap from the springs, if a cable looks frayed or loose, or if the door is visibly out of balance or off its tracks. Also call if the safety reverse fails and a simple sensor cleaning doesn’t fix it, or if the opener strains, grinds, or stops mid-travel. Those are the situations where continued use makes things worse and where the components involved are genuinely dangerous to handle. Maintaining the door yourself between professional visits is smart; trying to fix springs, cables, or structural alignment is not. Juniper Garage Door Repair offers free estimates in Norfolk. Call (877) 384-9329. We answer 24/7, with fast dispatch from 7am to 7pm, Sunday through Friday.
Frequently Asked Questions
Every three to four months, and more often during the humid summer months. Norfolk’s humidity works on hinges and rollers faster than a dry climate does, so plan on a full lubrication pass in late September and again in late November, with lighter touch-ups in between if the door feels stiff. Call (877) 384-9329 if you’d rather have it done as part of a professional inspection.
No, not as a long-term lubricant. WD-40 is a penetrating oil that evaporates and can flush out protective grease, leaving springs and hinges drier than before. Use a garage-door-specific lubricant or white lithium grease on springs, and a silicone-based spray on hinges and rollers. If you’re unsure what your door needs, we’re glad to advise.
Run the balance test. Disconnect the opener, raise the door halfway by hand, and let go. A balanced door stays put; one that drifts down is losing spring tension, which is an early warning that a spring is nearing failure. If the door drops hard or feels heavy, stop and call a professional, because a failing spring is a safety risk. Call (877) 384-9329 to schedule a look.
Because a failed bottom seal is the most common starting point for expensive secondary damage in this humid climate. A cracked seal lets moisture under the door and into the bottom panel, hinges, and stored items, which can lead to panel repair or full-door problems. Check the seal monthly and replace it as soon as it shows real wear.
Typical professional maintenance visits run in the range you’d expect for a service call plus the parts involved, and the exact price depends on what the inspection turns up. The written estimate sets the price before any work starts, so you’ll know the number in advance. Call (877) 384-9329 for a free estimate.
Yes, in most cases. Replacing the bottom seal is one of the safe homeowner tasks, because it doesn’t involve the springs, cables, or opener. If the retainer is bent or the bottom panel is already damaged, that’s a job for a professional. Our team can take a look if you’re unsure.
The Bottom Line
A garage door maintenance schedule should be timed around when your door actually fails, and in Norfolk that’s late summer, when humidity has worked on every moving part, and late fall, before the cold contracts the metal and stiffens the grease. Do the ten-minute monthly checks, lubricate with the right products, run the balance test to catch spring trouble early, and never skip the bottom seal. Leave springs, cables, and structural work to a professional. Whether you have a LiftMaster, a Chamberlain, a Genie, or a Clopay door, the calendar is the same, and the goal is simple: catch problems while they’re still cheap to fix and keep the door working. When you’re ready for a hand, call Juniper Garage Door Repair at (877) 384-9329 for a free estimate.
Written by the team at Juniper Garage Door Repair.