
Last updated November 15, 2026
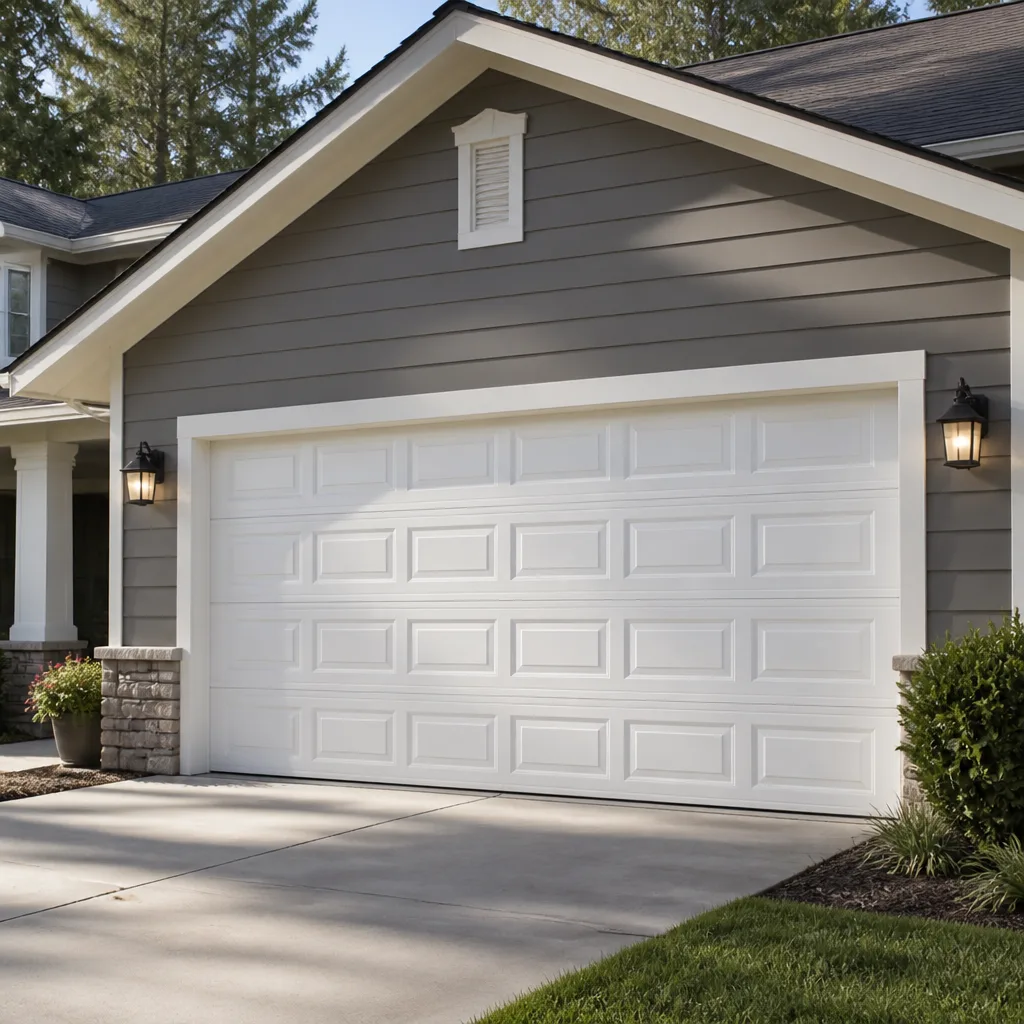 Raised-panel steel
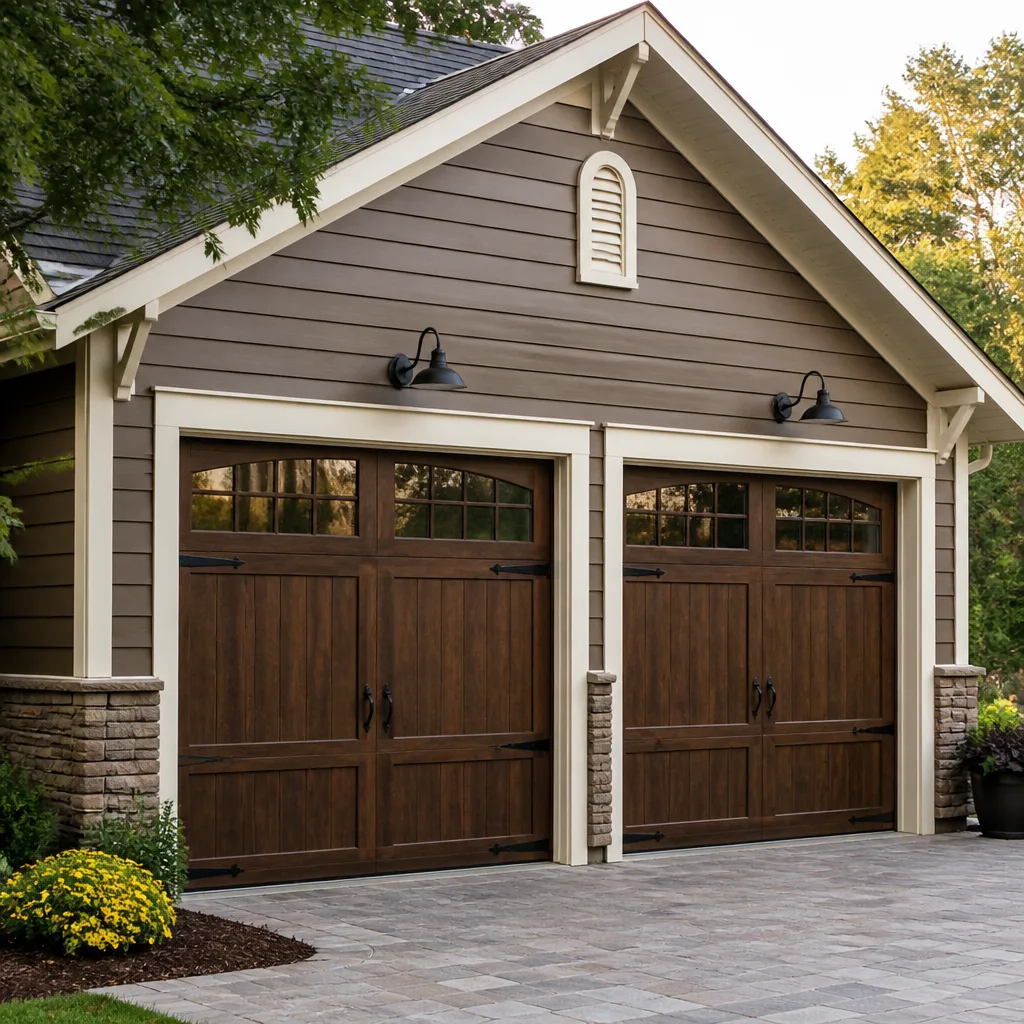 Carriage house
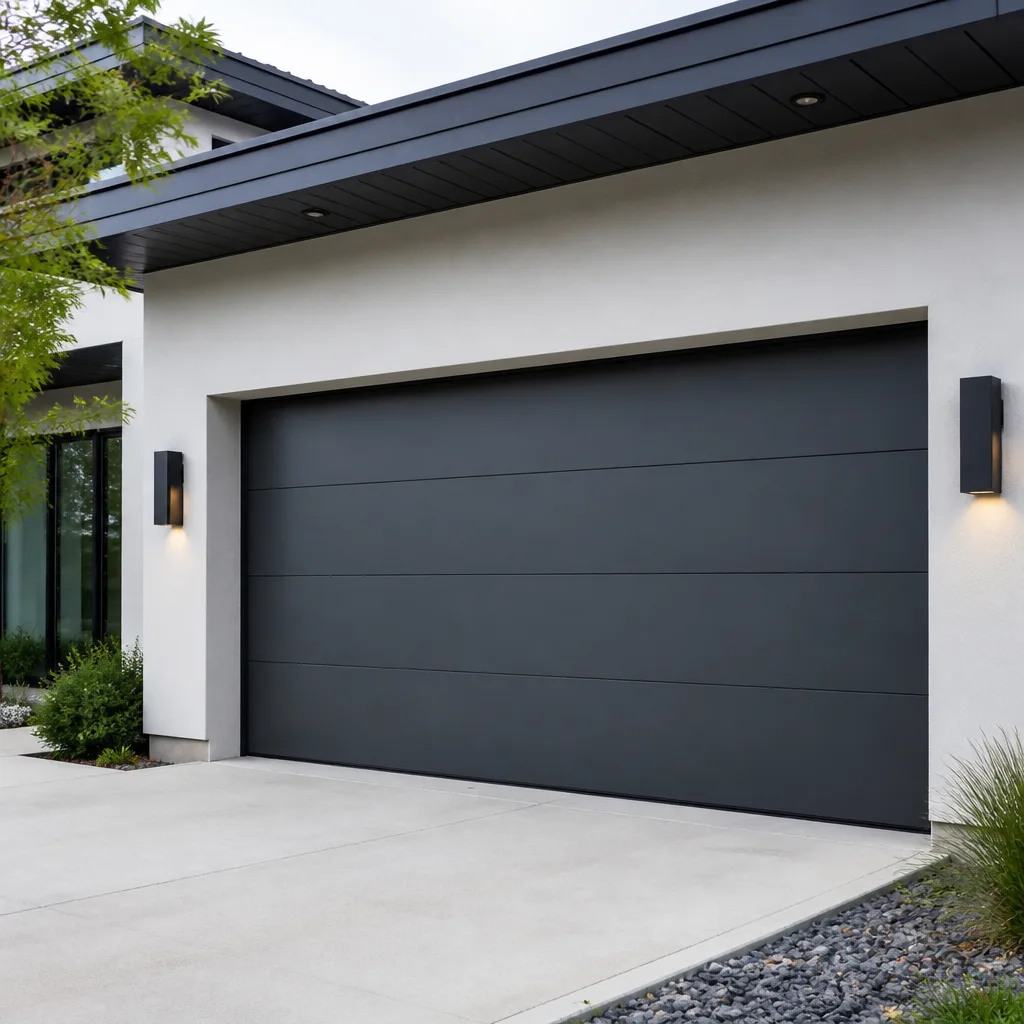 Modern flush
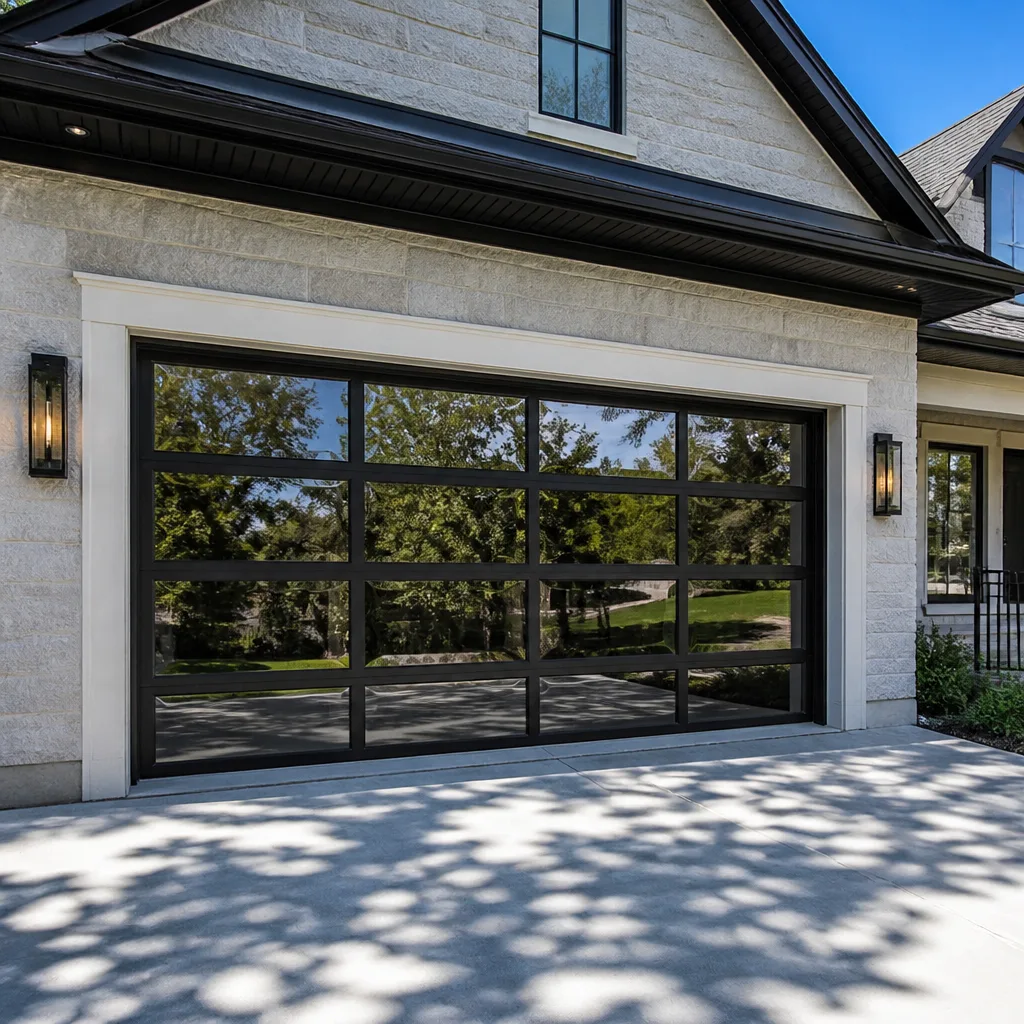 Full-view glass
 LiftMaster openers
 Chamberlain openers
Full 25-point door and opener safety check with every visit - springs, cables, rollers, tracks, and your LiftMaster or Chamberlain opener included
You get a price before we start. It does not change when the pro arrives.
Get your free estimateGarage Door Repair Maintenance Checklist for Norfolk Homeowners
The number-one call we get on Monday mornings is a spring failure, and in nearly every case a two-minute monthly tension check would have flagged the problem weeks earlier. Most garage door maintenance checklists miss that. They hand you ten generic boxes to tick, none of them tied to how doors actually fail in Norfolk’s humid summers and storm-season wind. This guide is built backward from the failure patterns our technicians find most often on Norfolk service calls. Every item earns its place. The goal isn’t a finished checklist. It’s zero surprise breakdowns, a door that opens when you need it, and a written record you can hand to a technician when something finally does go wrong.
Quick Answer
A garage door maintenance checklist for Norfolk homes covers three frequencies: weekly visual glances, monthly hands-on checks of balance, springs, rollers and safety sensors, and annual professional service for springs, cables, hinges and opener drive components. The highest-value item is a monthly spring tension and balance test, because spring failure is the most common breakdown we see in Norfolk. Pair that with correct sensor testing and proper lubrication, and you head off most emergency calls before they start.
Styles & brands we work with
- Raised-panel steel
- Carriage house
- Modern flush
- Full-view glass
- LiftMaster openers
- Chamberlain openers
Table of Contents
- How often should you check your garage door? A frequency table
- The weekly two-minute walkaround
- Monthly hands-on checks that catch real failures
- How to test auto-reverse and photo-eye sensors correctly
- Lubrication: what’s safe, what damages plastic parts
- Rust and hardware checks for Norfolk’s humid climate
- Opener maintenance most checklists skip
- Building a printable sign-off log
How often should you check your garage door? A frequency table
Garage doors need weekly, monthly and annual attention at three different depths. A weekly glance catches obvious problems, a monthly hands-on check catches developing failures while they’re still cheap to fix, and annual professional service handles the components you shouldn’t touch yourself. That split is what turns a checklist into something you’ll actually keep doing. Most homeowners abandon maintenance routines because the list is one undifferentiated wall of tasks with no sense of priority.
Here’s how the three tiers break down.
- Weekly (2 minutes): glance along the door while it’s open and closed. Check for new dents, sagging panels, hanging cables, and anything that looks like it’s coming loose. Listen to the door cycle once.
- Monthly (10-15 minutes): test the auto-reverse and photo-eye sensors, do the balance test by hand, check spring tension visually, look for rust at hinge points, and wipe down rollers with the right lubricant.
- Annually (professional): spring and cable inspection, hinge and bearing-plate wear, opener drive and force settings, track alignment, and a full system diagnosis from the opener motor to the bottom seal.
Norfolk’s seasonal pattern changes the rhythm here. The tidal flood cycles that close roads in neighborhoods like Larchmont and Colonial Place bring weeks of high humidity, and the storm season that runs from summer into fall puts real wind load on every door. Right after any storm that drops limbs or drives rain sideways under your door, walk the door once and listen to the cycle. That single habit catches a lot of developing problems before they become breakdowns.
Write the dates down each time you complete a tier. A checklist you sign is a maintenance record. A checklist you think about is just an intention.
The weekly two-minute walkaround
The weekly walkaround is a visual and audio pass, not a hands-on inspection. You’re looking for anything that changed since last week. Two minutes, every week, is enough to spot a problem when it’s still inexpensive to fix.
Run through these in order. Start with the door closed.
- Stand back and look at the door face. Any new dents, oil-canning across a panel, or paint that’s beginning to flake? Panel damage usually starts small.
- Look along the bottom seal. Is it sitting flat against the floor, or is there a gap at one end? A gap means weather is getting in and the seal is failing.
- Check the tracks on both sides. They should be straight and parallel. Look for anything bent, anything hanging off the wall brackets.
- Scan the spring and the cables above the door. A cable that’s come out of its drum or is hanging slack is a stop-now item, not a this-weekend item.
Then run the door once.
- Listen as it opens. A single steady hum is normal. Grinding, popping, or a rhythmic click that repeats at the same point in travel is not.
- Watch how the door moves. It should rise and fall smoothly, at a consistent speed, without lunging at either end.
- Look at the light fixture in the garage while the door runs. If the lights flicker, the opener circuit is struggling.
Anything that fails the weekly glance moves up the list immediately. Anything that moves a cable or a spring out of its normal position is a call-a-technician-now item. Don’t cycle the door repeatedly to see if it clears up. Cables and springs under tension behave unpredictably when they’re compromised, and forcing a cycle can turn a repair into a replacement.
Monthly hands-on checks that catch real failures
The monthly check is where most preventable failures get caught. Spring tension, balance and roller condition are the three that matter most, and all three can be checked safely without disassembling anything.
Spring tension check
The spring check is a visual pass, not a hands-on one. With the door fully closed, look at the spring above the door. If it’s a torsion spring, it sits on a bar across the top of the door frame. If it’s an extension spring, it runs parallel to the horizontal track. In both cases, you’re looking for a visible gap in the coil. A separated spring is a broken spring. Do not reach up and test a spring under tension with your hands or a tool. Springs hold enough stored energy to cause serious injury, so leave the physical work to a trained technician.
Broken springs usually announce themselves on the first cycle after failure, and the door either won’t lift or lifts with an alarming jolt. If you catch a spring in the early stages – usually a small gap or a stretched coil – you’re looking at a routine repair rather than an emergency. That’s the two-week head start a monthly glance can buy you.
Balance test
This is the sequence that tells you whether the door’s mechanical system is still working with the opener or against it.
- Pull the release cord to disconnect the opener from the door. The door should now move on the springs and tracks alone.
- Lift the door to roughly waist height.
- Let go. The door should hold its position or drift very slightly. It should not drop, and it should not rise on its own.
- Lift the door to fully open and let go. It should stay put.
- Reconnect the opener when you’re done.
A door that drops or rises is out of balance, which puts extra load on the opener motor. That’s a spring adjustment, not a DIY job on torsion systems.
Roller and hinge check
Rollers run along the tracks and carry the door’s weight. With the door closed, look at each roller. Steel rollers should turn freely. Nylon rollers should be smooth and clean. If a roller has a flat side, a wobble, or a grinding sound as the door runs, it’s time to replace it. Do the same with hinges: a hinge that’s loose, cracked, or showing rust at the pin is on its way out.
If a check turns up a specific problem and you’re weighing repair versus replacement, our garage door repair team can diagnose it in a free estimate. Parts on most doors we see in Norfolk – Genie and Clopay hardware especially – are readily available.
How to test auto-reverse and photo-eye sensors correctly
Most homeowners test their photo-eye sensors by waving a hand between them and the door, or by walking through the beam while the door descends. Both are unreliable. They test whether the sensors are doing anything at all, not whether the safety system will actually stop a door. A sensor that’s misaligned, dirty, or partly blocked can still register a passing “wave” while failing the safety test the sensors are designed for. That false pass is the most common sensor problem we see on Norfolk service calls.
There are two separate systems to test: the photo-eye sensors near the floor and the auto-reverse setting in the opener. Test both.
Photo-eye test
- Make sure both sensors are facing each other and the indicator lights on each are solid, not flickering.
- Close the door with the wall button. While the door is descending, block the beam with a flat object you can hold across the width of the sensor. A cardboard box works well.
- The door should reverse to fully open.
- Repeat the test from about halfway down, not just from the top.
If the door reverses cleanly both times, the sensors are working. If it doesn’t reverse, or reverses only from one position, the sensors or the wiring are the problem – not the door itself.
Auto-reverse test
The auto-reverse system is a mechanical load sensor built into the opener. It detects resistance when the door meets an obstacle and reverses direction. To test it safely, place a flat object about an inch thick under the door’s path, then close the door. It should reverse immediately on contact. Repeat with a thicker object. If the door pushes through either one, the opener’s force settings need adjusting. That’s a task for a technician – the settings are the only thing standing between a developing obstacle and an injury.
If the sensors test bad, our garage door opener repair team handles the repair on every major drive system, including Genie and Chamberlain units. Sensors fail more often than the motors do, and a sensor replacement is usually a straightforward fix.
Lubrication: what’s safe, what damages plastic parts
Lubrication is the maintenance task most likely to cause damage when it’s done with the wrong product. Garage doors use metal-on-metal contact points (springs, hinges, bearing plates) that need grease, and plastic or nylon components (rollers, some bushings) that need a dry lubricant or nothing at all. Using the wrong product on the wrong surface accelerates wear and, on some doors, affects the manufacturer’s warranty on those parts.
Here’s the safe split.
- Safe for torsion springs and hinges: a purpose-made garage door lubricant, silicone spray, or white lithium grease applied sparingly. A small amount is enough. Don’t soak the spring.
- Safe for nylon rollers: a dry silicone spray. No grease, no oil. Grease attracts grit that grinds the nylon down.
- Safe for the opener track: a dry silicone spray, wiped on with a rag.
- NOT safe for plastic components: petroleum-based oils, WD-40 (the original formula), and anything not labeled for garage doors. These soften and degrade plastic. On Clopay and Amarr doors with nylon rollers, the wrong lubricant shortens roller life considerably.
- Never lubricate: the door’s tracks themselves (the vertical and horizontal track surfaces that the rollers run in), or the opener’s belt or chain with oil. Grease on the running surface of the track causes the rollers to slide rather than roll, which is worse than no lubrication at all.
Apply lubrication twice a year, and lightly. A garage door that squeaks after you’ve greased it likely needs parts, not more product. If the squeak persists after a proper lubrication pass, a worn roller, hinge, or bearing plate is the likely cause. Our technicians have up to 13 years of experience tracking that kind of wear on the parts most likely to fail first.
Rust and hardware checks for Norfolk’s humid climate
Norfolk’s humidity and its storm season push rust faster than dry climates do. The parts most likely to fail first are the ones you probably don’t look at: hinge pins, bearing plates, roller axles, and the bottom seal’s retaining track. Surface discoloration on the painted door face is usually cosmetic. Rust that’s actively eating into a moving part is not, and it’s the version that leads to a hinge failure or a roller seizing mid-cycle.
Look for these in order, working from the bottom of the door up.
- Bottom brackets and the seal track. The bottom edge of the door sits inches from the floor and picks up moisture more than any other part. Surface rust that comes off with a rag is fine. Pitting or a bracket that’s begun to deform is not.
- Hinge pins and the hinge plate. Open the hinge slightly and look at the pin. A pin that’s rusted to the point of binding means the hinge is on its way out. That’s a small part, but a hinge failure during a cycle can drop the door off its track.
- Roller axles. A steel axle with rust creeping into the roller nylon is a roller replacement, not a lubrication issue.
- Weatherstripping. The bottom seal and the side jambs. A seal that’s cracked, torn, or no longer sitting flat means water is getting into the door’s lower mechanicals, which accelerates every rust problem above.
Painted surfaces on the door face are the low-priority item, but a touch-up of nicked paint still matters. A bare spot that sees humidity will pit within a season. Touch-up paint is cheap and takes ten minutes.
Wayne Dalton doors we service in Norfolk often show rust first at the bottom bracket, followed by the hinge pins. It’s a pattern, not a defect. It’s what humidity does to steel near the floor.
Opener maintenance most checklists skip
Most garage door checklists stop at the door itself. That misses half the system. The opener is the drive unit, and it has its own maintenance calendar. We see this on Norfolk service calls constantly: a door that’s been carefully lubricated and balanced, but an opener that’s been quietly struggling for years. When the opener finally gives up, it’s often because the door was out of balance and the motor had been compensating for it, which is why the balance test above matters so much.
Here’s what the opener’s own maintenance looks like.
- Force settings. An opener’s force setting is how hard it pushes. If the door is out of balance, someone (often a technician, sometimes a homeowner following a YouTube video) turns the force up to compensate. That’s the wrong fix, and it derails the auto-reverse safety system. The right fix is balancing the door, then returning the force to its proper setting.
- The chain or belt. Inspect for slack and for worn or stretched links. A belt-driven opener will usually tell you it needs attention with a rhythmic slap or clunk. A chain that’s visibly loose needs adjustment, which is a technician task.
- The drive gear. On most residential openers, the drive gear is the part that fails first on the motor itself, not the motor winding. A unit that runs but no longer lifts the door is often a gear problem, not a motor death, and it’s repairable on most major brands.
- The battery backup. If the opener has a battery backup (many openers built in the last fifteen years do), test it twice a year by unplugging the opener and running the door once. A battery that won’t lift the door in a power outage is dead.
- The wall control and remotes. A remote that works only up close, or a wall button that responds intermittently, is usually a battery or a programming issue, not a motor issue.
An opener with any of the above symptoms is still often repairable. Replacing the whole unit is usually the wrong first move. Our garage door opener repair work covers the major residential and light-commercial drive systems, and we diagnose before we replace.
Building a printable sign-off log
A checklist you complete once is a task. A checklist you sign, date and keep is a maintenance record, and its value grows over time. When a technician arrives to diagnose a problem, a log tells them where the door was six weeks ago versus where it is now. That’s the difference between a fast diagnosis and an expensive guessing game.
The format that works best is simple: one row per task, one column per date. Sign your initials and the date in each cell as you complete each item.
- Header block: the door’s make and model, the installer’s name if you know it, the install date (from the paperwork), and the opener’s make and model. Add the door’s serial number if it’s printed on the door or the paperwork.
- Weekly rows: panel glance, bottom seal, tracks, cable and spring visual, door cycle listened to.
- Monthly rows: balance test, spring visual, roller check, hinge check, sensor test (photo-eye and auto-reverse), lubrication pass.
- Annual rows: professional service, opener force check, battery backup test, weatherstripping replacement if needed.
- Issue log at the bottom: a short block for anything you noticed and didn’t fix. A squeak, a slow cycle, a sensor light flicker. Note it, then have a technician look at it on the next visit.
Keep the log on a clipboard in the garage, or photograph it and store it on your phone. On tenant-maintained properties, the property manager keeps a copy of the log for each unit, which is the cleanest way to demonstrate the door has been properly maintained. Two paper copies, one for the unit and one for the office, works well. When the time comes for a repair, the log is what closes the loop between what you noticed and what the technician finds.
Common Mistakes to Avoid
- Testing sensors with a wave. Waving a hand past a photo-eye tests nothing useful. Use a blocking object at multiple points in the door’s travel, as described above. A false pass here is the most common issue we find on Norfolk safety checks.
- Greasing tracks and springs with WD-40. The original formula is not a lubricant for garage door hardware, and it degrades the nylon in rollers and some bushings. Use a purpose-made garage door lubricant or a silicone spray and keep it off the tracks.
- Lubricating the tracks themselves. A greasy track makes rollers slide instead of roll, which wears them faster than a dry track would. Tracks should be clean and dry.
- Balancing the door by turning up the opener’s force. That’s a common fix and a dangerous one. An opener that’s been forced to compensate for an unbalanced door will pass every check until the motor gives out, and it sabotages the auto-reverse system.
- Reaching for a spring or a cable. Every spring and cable on a garage door stores enormous energy. Do not adjust, tighten or remove either yourself. The parts are simple. The stakes are not.
- Ignoring rust at the bottom bracket because it “looks surface-level.” On Norfolk’s humidity, rust on the bottom bracket is the single most common early failure point. Pitting, or a bracket that’s begun to deform, is a repair – not a touch-up.
- Skipping maintenance after a storm. Storm season on the Norfolk side of the water brings real wind load and often a limb on the roof of the door. A walkaround after the storm catches the damage while it’s still a small repair.
See the difference
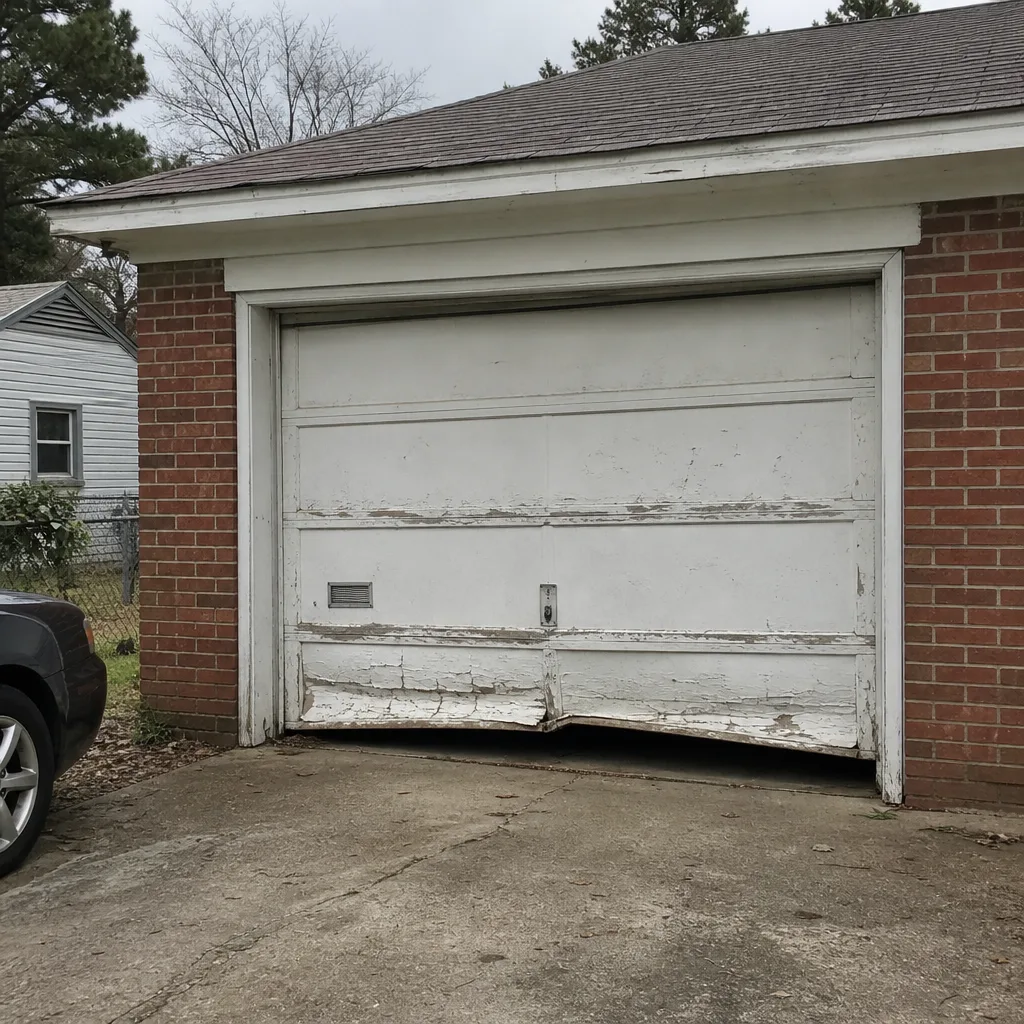 Before
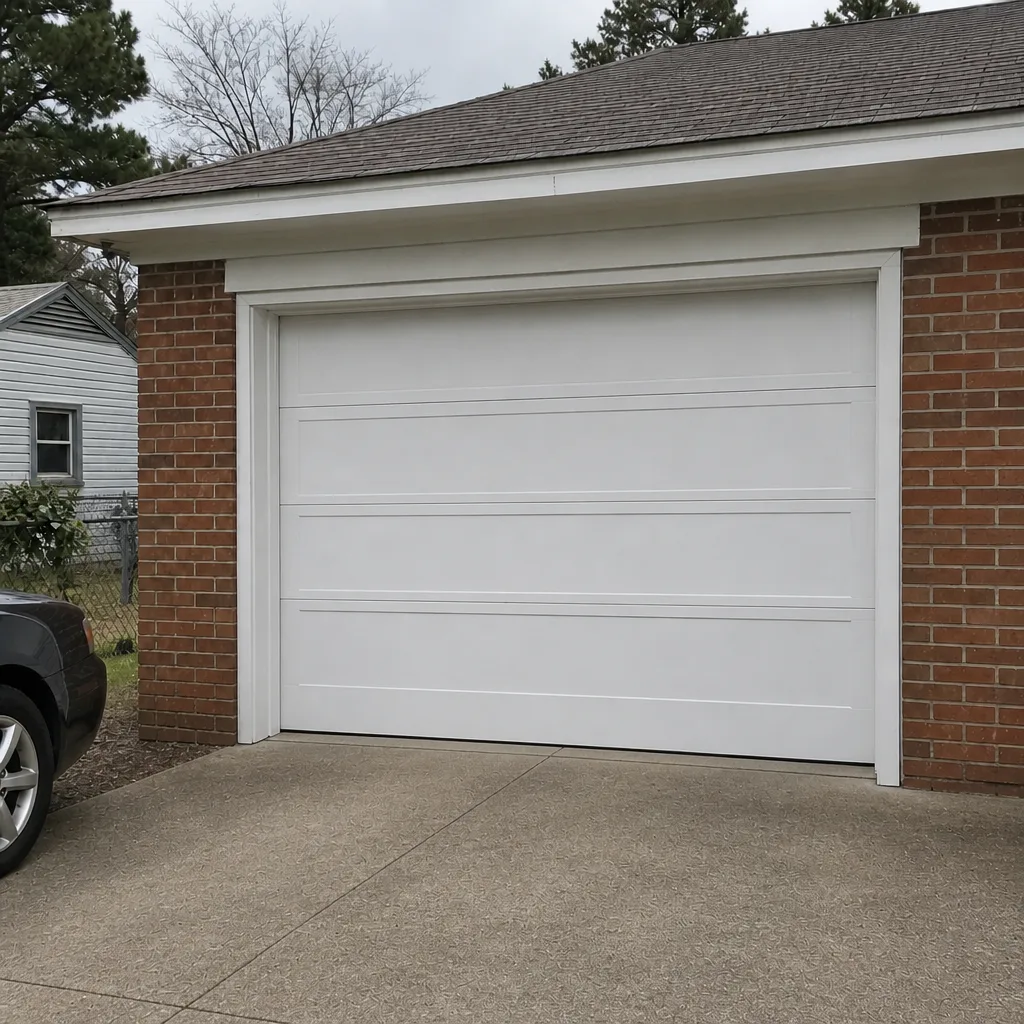 After
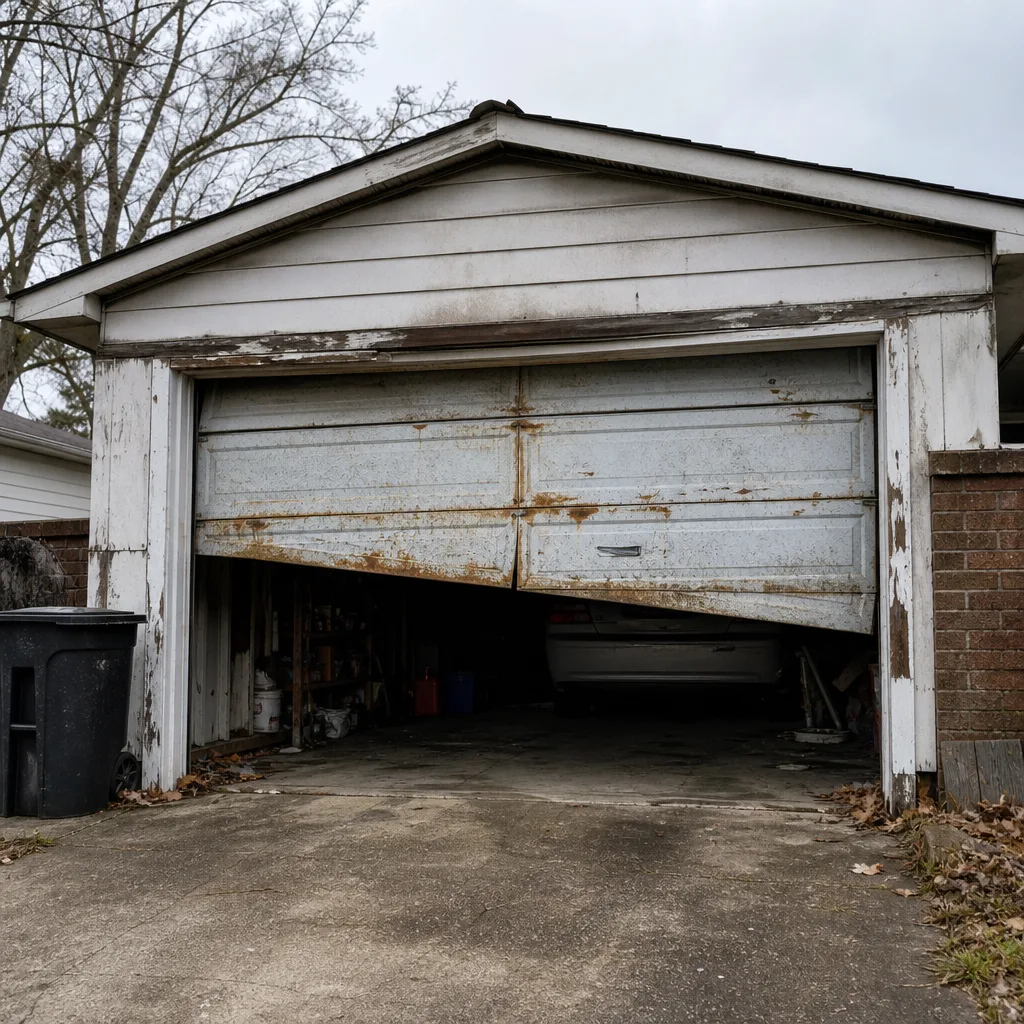 Before
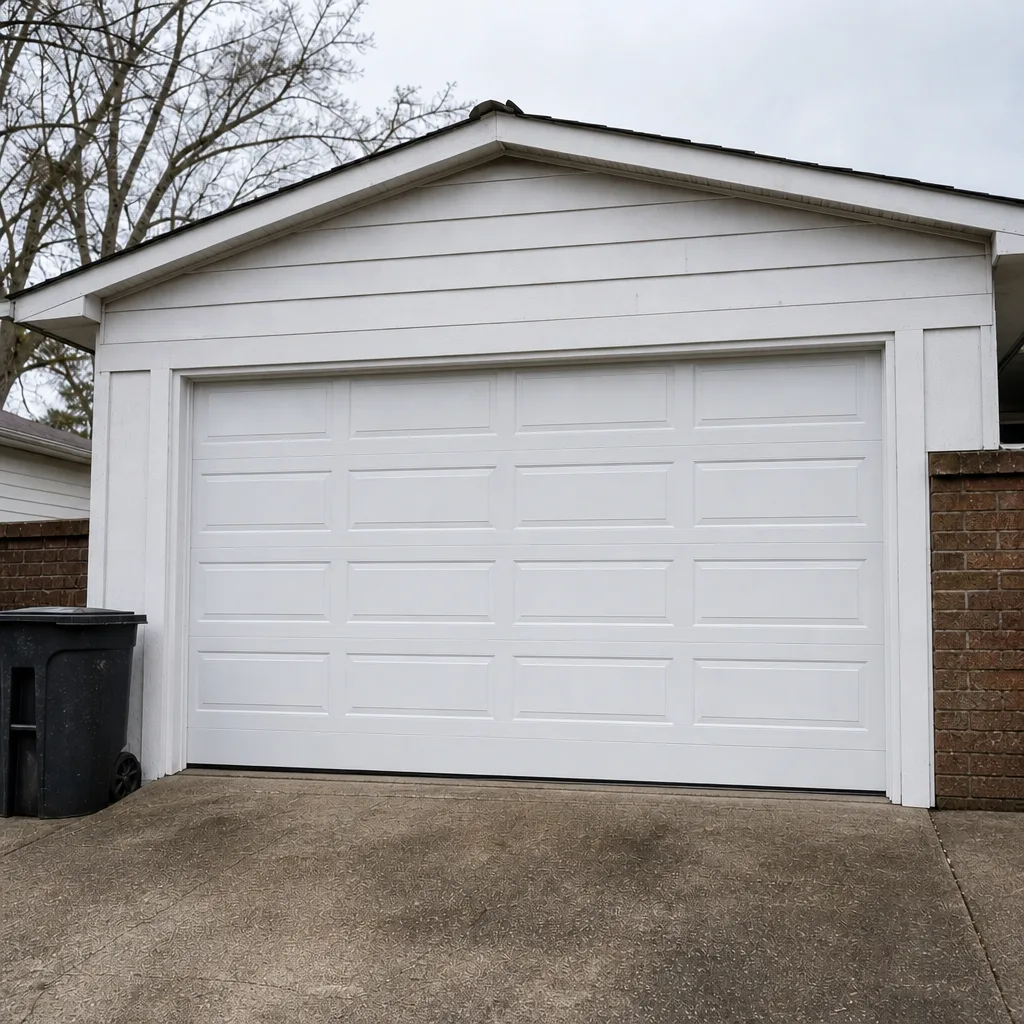 After
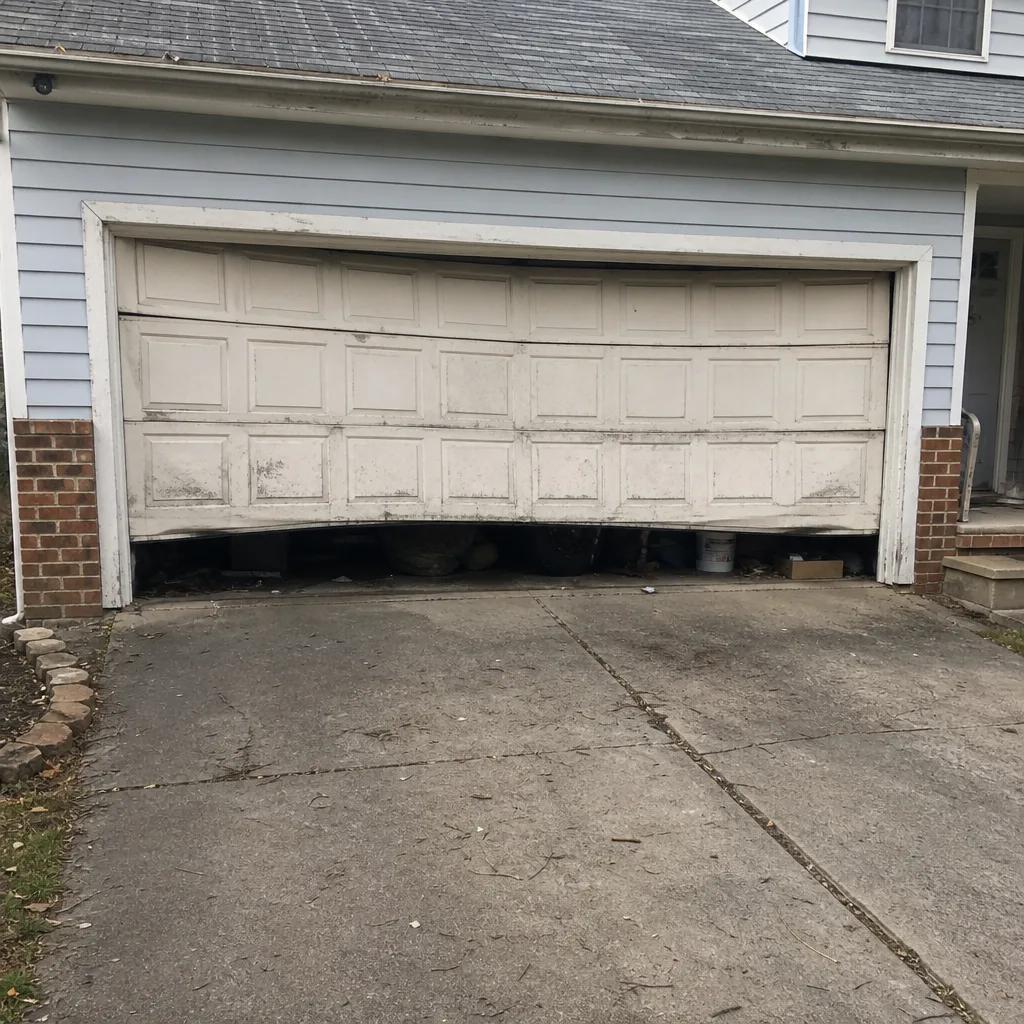 Before
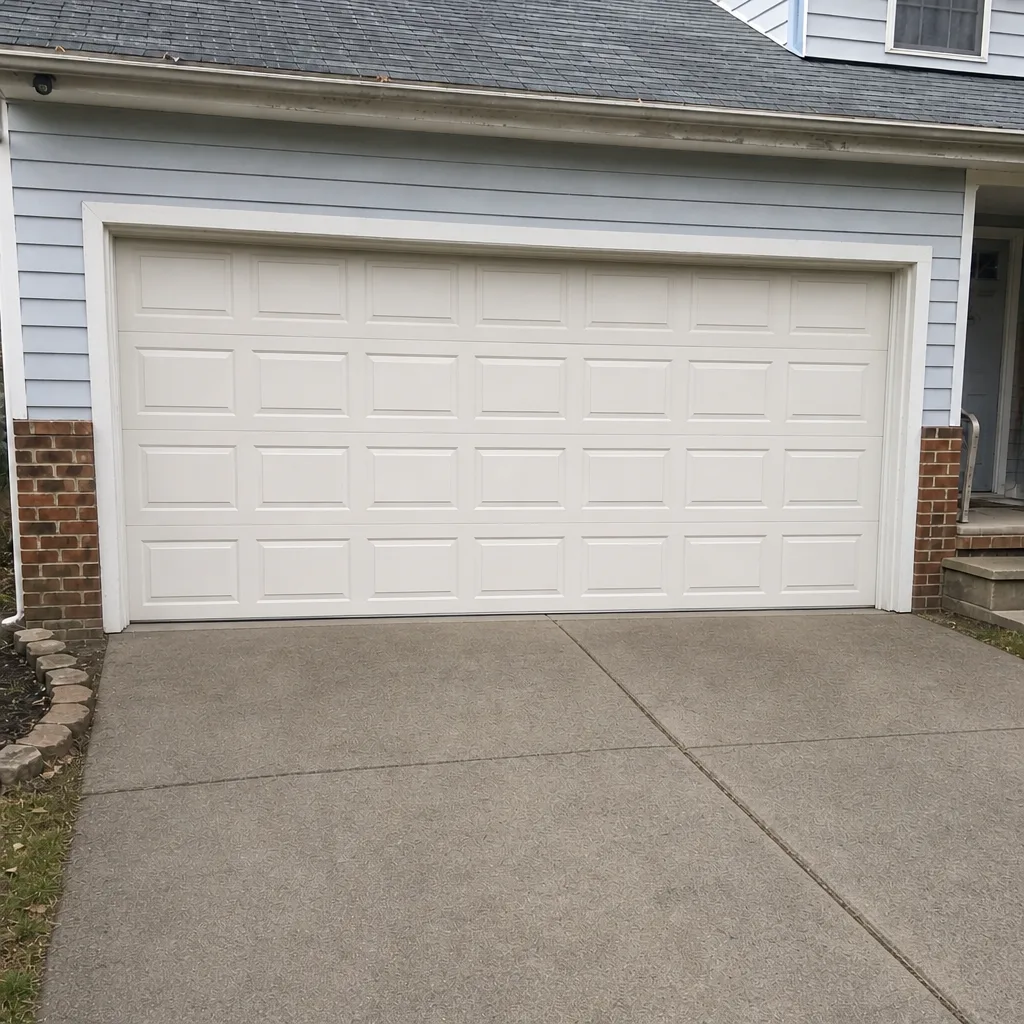 After
When to Call a Professional
Call a professional for anything involving springs, cables, opener force settings, and any damage that affects how the door travels. Those are the four items that are genuinely dangerous to handle without training, and they’re the ones where a small repair is far cheaper than the consequences of a mistake. Call immediately if a spring has visibly broken, if a cable has come out of its drum or is hanging slack, if the door won’t lift at all, or if the door has come off its track. Also call if the door reverses without an obstacle, if the opener runs but doesn’t lift, or if any part of the door has begun to sag or shift within the frame.
For the routine items – sensors, balance tests, lubrication, and weatherstripping inspections – you can absolutely do them yourself, and you should. For everything else, the right move is a technician who knows the door’s brand and has seen its failure pattern before. Juniper Garage Door Repair works on the equipment you already have, whether that’s Genie, Clopay, Amarr, Wayne Dalton or another brand in the same family. Juniper Garage Door Repair offers free estimates in Norfolk – call (877) 384-9329. We answer 24/7. Fast dispatch from 7am to 7pm, Sunday through Friday.
Frequently Asked Questions
Once a year is the standard for most homes, with a second visit after any storm that’s dumped debris on the door or pushed water under it. Norfolk’s storm season and its persistent humidity both accelerate wear on springs, hinges and weatherstripping, so an annual professional inspection is a real safeguard here rather than a box-tick. If your door is over ten years old or you’ve never had it inspected, start with an annual visit and see what the technician finds. Call (877) 384-9329 for a free estimate.
A broken torsion spring shows a visible gap in the coil, usually about the width of a finger, and the door will either not lift or will feel extremely heavy if you try to raise it by hand. An extension spring failure usually shows as a separated hook or a fully extended spring with no tension left in it. Do not try to lift the door or reach for the spring itself. Call a technician immediately. We handle spring repair across every system we service, and our technicians have up to 13 years of experience with the failure modes on Norfolk’s doors.
Block the photo-eye beam with a flat object while the door is closing and confirm the door reverses, then repeat from a second position halfway down. That’s the test that matters. Waving your hand through the beam tests whether the sensors are on, not whether they’ll stop a moving door, and it produces false passes all the time. If the door doesn’t reverse at both positions, the sensors or their wiring need attention. Call (877) 384-9329 for a free estimate.
Yes, for springs, hinges, rollers and the opener track – with the right product in each spot. Use a purpose-made garage door lubricant or silicone spray, apply it sparingly, and keep grease off the running surface of the tracks and off the opener’s belt or chain. Avoid petroleum-based oils and standard WD-40 on plastic rollers and bushings, since they degrade the nylon. If the door still squeaks after a lubrication pass, the cause is usually a worn part rather than a lubrication gap. Call (877) 384-9329 to have a technician look at it.
A rhythmic click that repeats at the same point in travel usually points to a worn hinge, a flat spot on a roller, or a track that’s out of alignment. Consistent grinding is typically a roller or a bearing plate, and it will wear faster the longer it’s ignored. A door that’s started a new noise is sending you a maintenance signal, not a minor annoyance. Call (877) 384-9329 for a free diagnosis. Our Juniper Garage Door Repair team knows the models we work on best, and our technicians see the same brand-specific failure patterns across Norfolk.
Yes, humidity speeds up the wear on rust-prone parts, particularly bottom brackets, hinge pins and roller axles. The fix isn’t complicated: check those parts monthly rather than annually, keep the bottom seal in good shape, and touch up any nicked paint on the door face. Norfolk’s storm season adds wind load on top of that, which is why a post-storm walkaround matters here. If you’re noticing early rust and aren’t sure whether it needs a repair, call (877) 384-9329 for a free estimate on what’s actually needed.
The Bottom Line
Peace of mind about your garage door isn’t a single inspection. It’s a rhythm: a two-minute weekly glance, a monthly hands-on check of balance, springs, sensors and rollers, and an annual professional visit. The three highest-value checks are spring tension, a proper sensor test and correct lubrication, and those are the ones that prevent most of the calls we get. Write each check down. Sign the log. It’s a maintenance record, not a task list, and it’s what turns a repair conversation from a guess into a diagnosis. If a specific problem has surfaced, we can help – call (877) 384-9329 for a free estimate anywhere in Norfolk. We answer 24/7. Fast dispatch from 7am to 7pm, Sunday through Friday.
Written by the team at Juniper Garage Door Repair.