
Last updated November 15, 2026
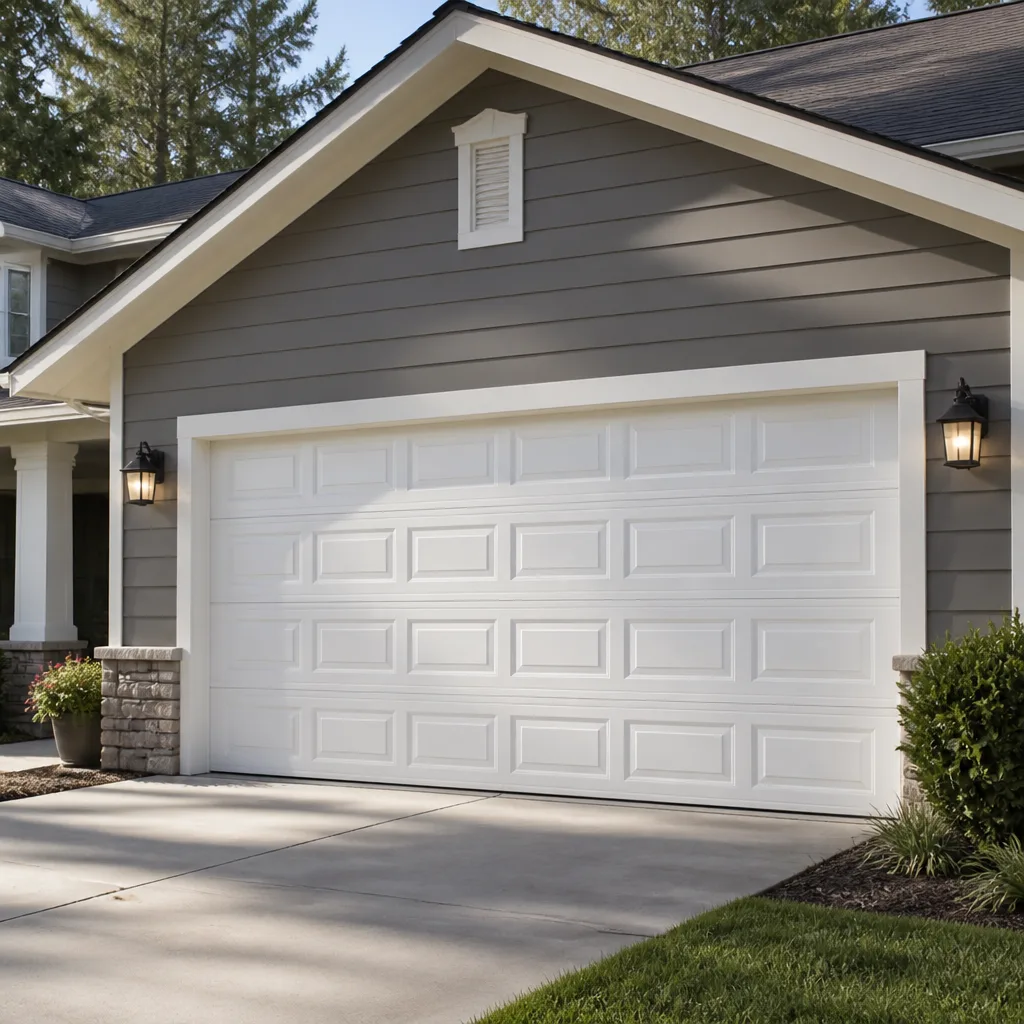 Raised-panel steel
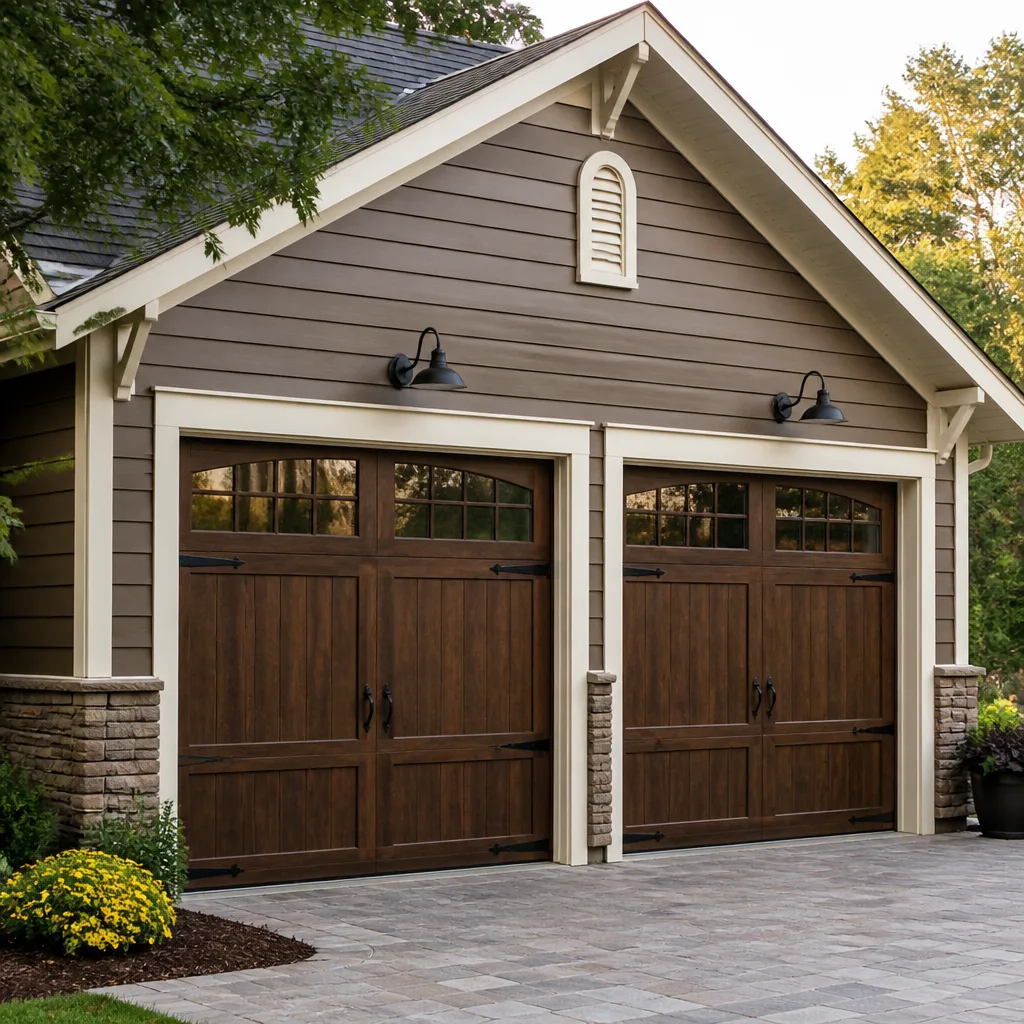 Carriage house
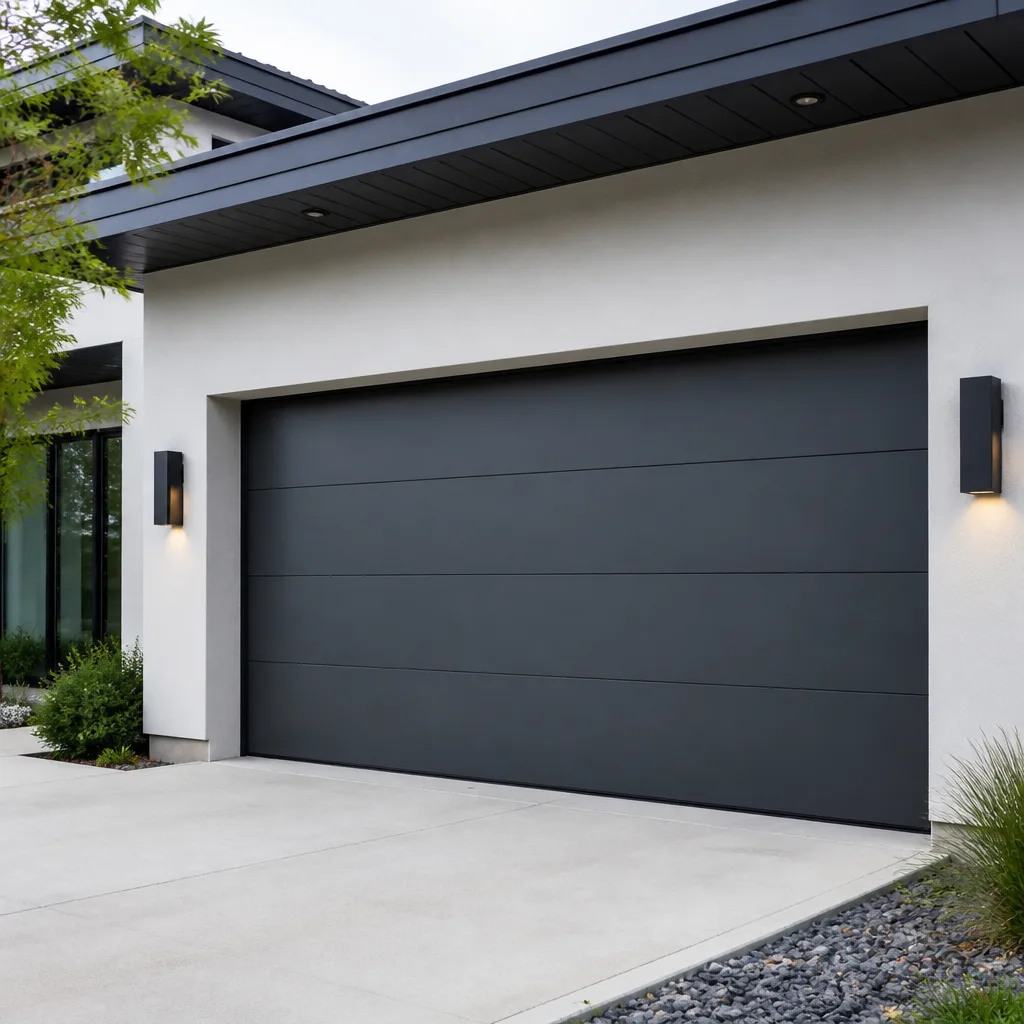 Modern flush
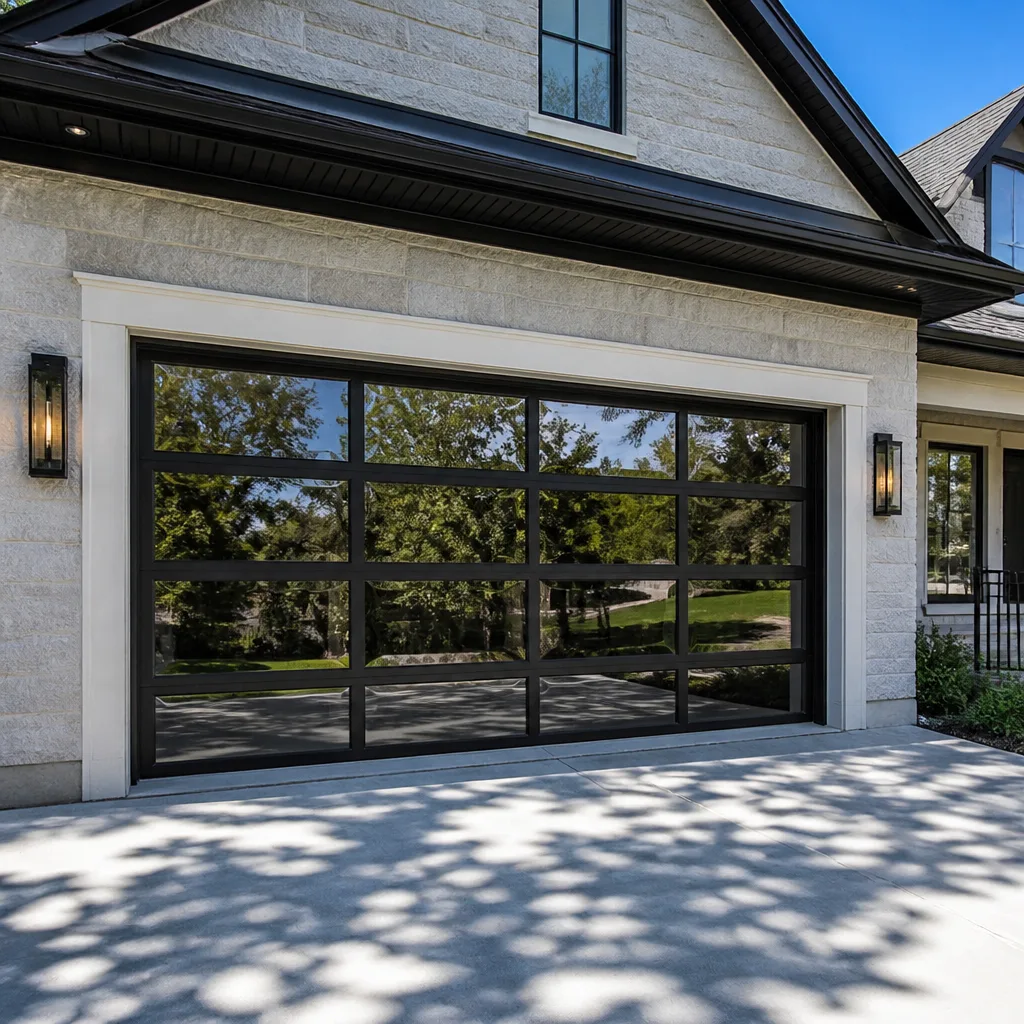 Full-view glass
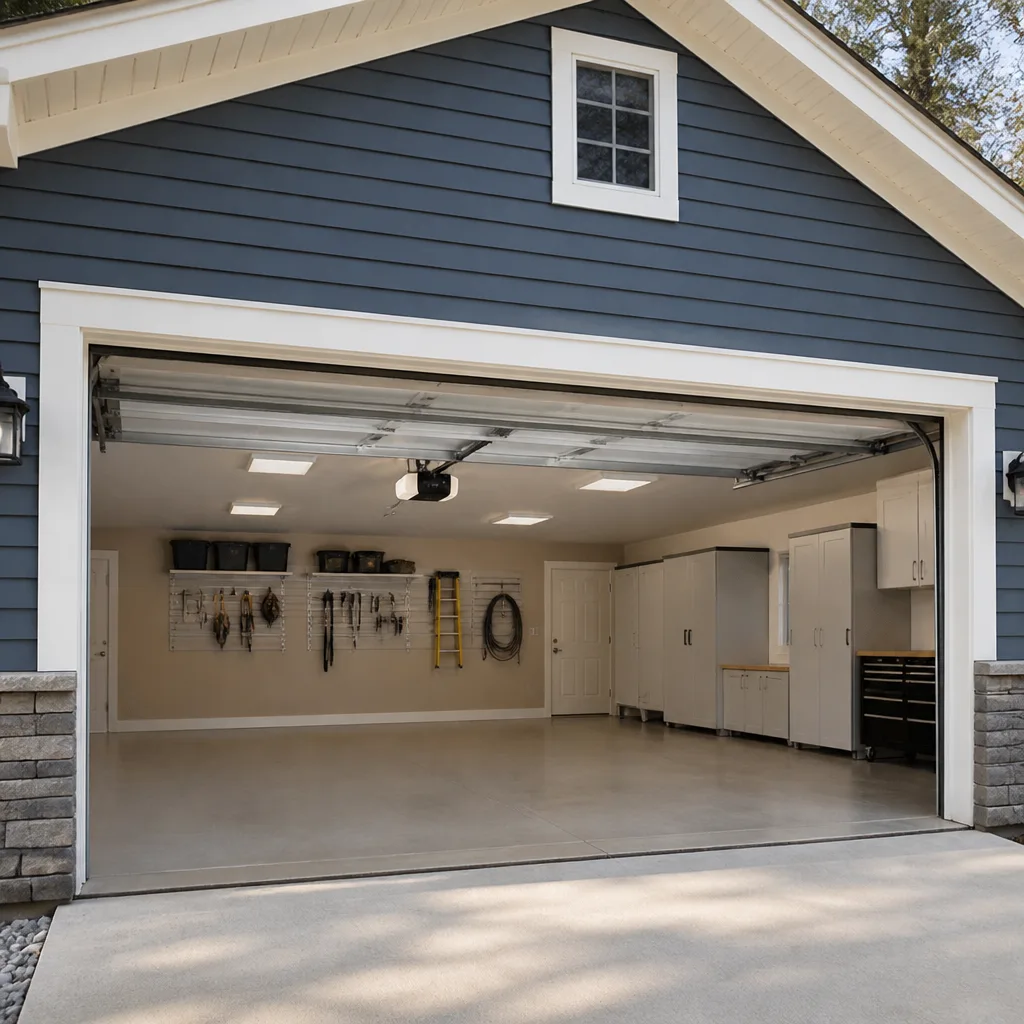 LiftMaster openers
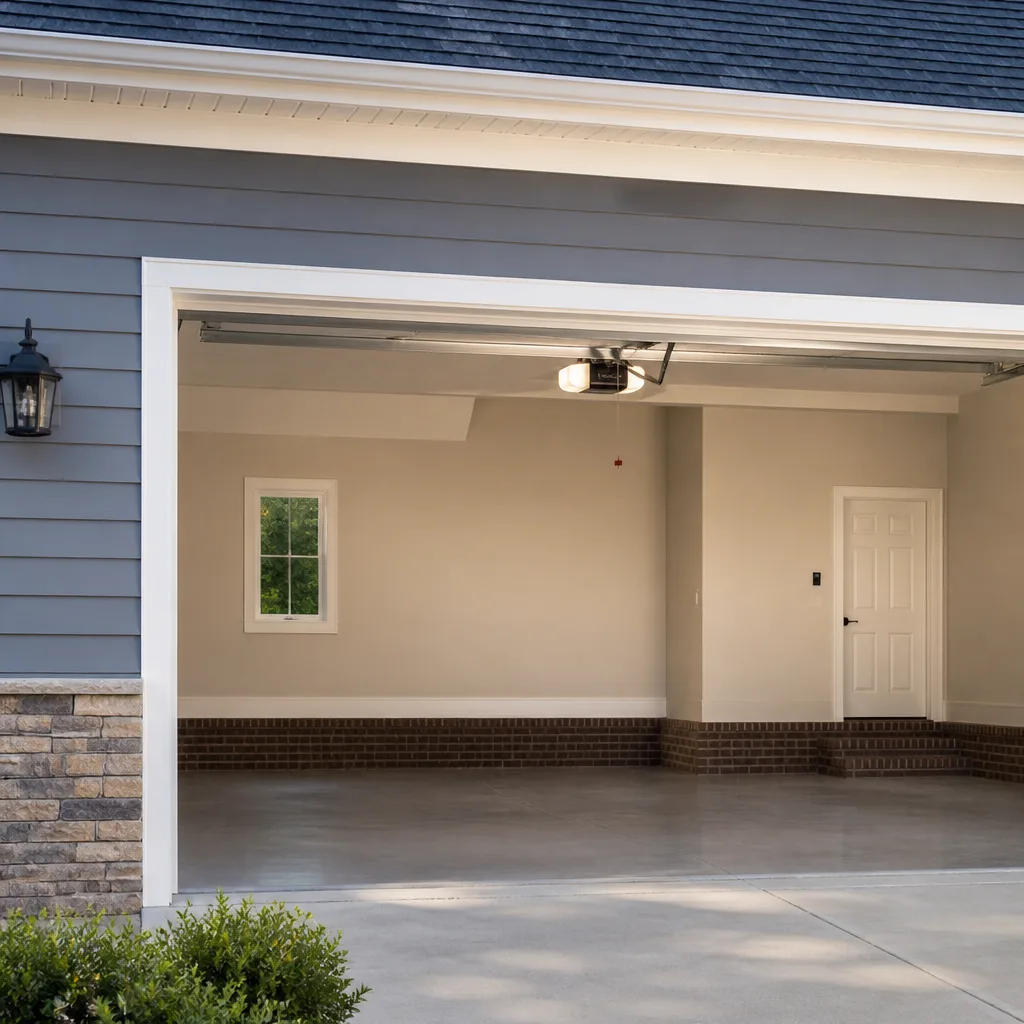 Chamberlain openers
Full 25-point door and opener safety check with every visit - springs, cables, rollers, tracks, and your LiftMaster or Chamberlain opener included
You get a price before we start. It does not change when the pro arrives.
Get your free estimateDIY vs Professional Garage Door: The Norfolk Homeowner’s Decision Guide
Every garage door repair video on the internet is edited the same way. A confident host swaps a torsion spring in eight minutes, then swaps a bottom weather seal in the next clip, and both jobs arrive on your screen looking equally routine. They are not. One of them involves a component holding hundreds of pounds of tension that can release without warning. The other needs a pair of pliers. Most DIY-versus-pro advice blurs that line on purpose, because a clean either-or answer is easier to sell than an honest one. This guide draws the line properly. You’ll learn which jobs you can genuinely handle in a Norfolk garage, which ones carry real risk even if you own the tools, and where the cost math actually flips in favor of a professional.
Quick Answer
Safe DIY garage door work is limited to cleaning, lubricating, visual inspection, and replacing rubber weather seals. Anything involving torsion springs, cables, bottom brackets, or the high-voltage wiring inside an opener should go to a trained technician, because those components can injure you badly if they release or are re-tensioned incorrectly. Routine maintenance is worth doing yourself; structural and mechanical repair is not, and the cost of a professional repair is usually smaller than the cost of getting it wrong.
Styles & brands we work with
- Raised-panel steel
- Carriage house
- Modern flush
- Full-view glass
- LiftMaster openers
- Chamberlain openers
Table of Contents
- The Three Categories: Safe DIY, Risky DIY, and Professional-Only
- What You Can Actually Do Yourself in a Norfolk Garage
- The Jobs That Are Professional-Only, and Why
- The Tools Required for Professional Work
- The Cost Math: Maintenance vs. Repair
- How Norfolk’s Climate Changes the DIY Calculus
- If You’ve Already Tried the Repair, Tell Us This
- Openers Are Their Own Category
The Three Categories: Safe DIY, Risky DIY, and Professional-Only
The useful way to sort garage door work is not by difficulty. It’s by consequence. A job that’s hard but forgiving is a fine weekend project. A job that’s easy but unforgiving is not, and several garage door tasks fall into that second bucket. Here’s how we’d sort the common work a Norfolk homeowner runs into.
Category 1: Safe DIY. These tasks carry no stored-energy risk and no high-voltage exposure.
- Washing door panels with mild soap and water
- Lubricating hinges, rollers, and the track with a garage-door-rated lubricant
- Cleaning debris and grit out of the tracks
- Replacing the bottom weather seal on a door that’s fully down
- Visual inspection for fraying cables, worn rollers, or bent track
- Testing the safety reverse feature with a small object under the door
- Tightening a loose hinge bolt with a socket wrench
Category 2: DIY with real trade-offs. Possible, but each one has a failure mode worth understanding before you start.
- Track adjustment on a minor bend. A slightly out-of-line track can sometimes be persuaded back with a rubber mallet. A badly bent one needs replacement, and forcing it can pull the door off its rollers.
- Roller replacement. Straightforward on most doors, but a door under spring tension behaves unpredictably if a roller comes out while the door is anything but fully down.
- Panel replacement on a cosmetic dent. Cosmetic panel swaps on a Clopay or Amarr door are manageable if you can source the exact panel, but mismatched panels can throw the door’s balance off.
- Opener logic board reset. A simple power-cycle sometimes restores a Craftsman or Chamberlain opener, but any work inside the housing is a different conversation.
Category 3: Professional-only. These carry genuine injury risk and belong with a trained technician, every time.
- Torsion spring replacement or adjustment
- Extension spring replacement
- Cable replacement or re-spooling
- Bottom bracket work
- Any high-voltage electrical work inside the opener
- Full door replacement or re-hanging
- Counterbalance adjustment
That sorting is the whole guide in miniature. The rest of this page explains why each item landed where it did, so you can make your own call on a job we haven’t listed.
What You Can Actually Do Yourself in a Norfolk Garage
The safe DIY list is shorter than most homeowners expect, but it’s not empty. A few of these tasks genuinely extend the life of a door, and skipping them is how small problems turn into replacements.
Lubrication is the highest-value thing you can do. Garage door hinges, rollers, and torsion springs benefit from a proper garage-door lubricant once or twice a year. Not WD-40, which is a solvent and will strip the existing grease. A lithium or silicone-based lubricant made for garage doors. Spray the hinge pivots, the roller bearings, and the torsion spring coils where they meet the shaft. Don’t spray the tracks. The tracks are meant to be clean and dry, and greasing them collects grit that wears out rollers faster.
Weather seal replacement is easier than it looks. The bottom rubber seal on most doors slides into a channel on the bottom panel. You pull the old one out, measure the width, cut the new one to length, and slide it in. It’s a fifteen-minute job on most equipment, and it’s the single biggest fix for a garage that lets water or cold air in at the bottom.
Visual inspection is free and underrated. Once a month, put the door in its fully raised position and look at it. Cables should be taut with no fraying at the drum. Rollers should turn freely. The torsion spring should look straight, not visibly stretched or rusted through. Hinges shouldn’t have cracks. A quick look catches most problems before they get expensive.
Safety reverse testing is a five-second check. Put a small object, like a roll of tape, in the door’s path and close it. The door should reverse on contact. If it doesn’t, the opener’s force settings are wrong, and that’s worth a professional look before anyone gets hurt.
If you live in a neighborhood like Ghent or Larchmont where the garage is often a converted carriage house or attached to older construction, treat any inspection with extra caution. Old doors and older opener installations can have quirks the general advice doesn’t anticipate.
The Jobs That Are Professional-Only, and Why
Torsion springs are the single most dangerous component in a residential garage. A standard torsion spring on a typical Norfolk single-car door holds enough energy at rest to lift around a hundred pounds of door, and closer to two hundred on a double-car door. That energy is stored in the spring’s coils, held in place by a winding bar and set screws. When a spring breaks, or when it’s released incorrectly during a repair, it unloads that energy in a fraction of a second. The injury pattern is well documented and it isn’t a scraped knuckle. It’s broken bones, serious hand injuries, and worse.
Cables carry the same load and are just as unforgiving. A cable under tension that snaps, or slips out of its drum during a repair, behaves like a whip. The reason professionals replace cables with the door properly supported and tension relieved is that there’s no safe intermediate state where an untrained person should be near a loaded cable.
Bottom brackets are the third piece of the same puzzle. They’re what the cables attach to at the bottom corners of the door, and they’re under the same tension as the cables themselves. Working near a bottom bracket on a door with any spring tension is a genuinely bad idea.
Opener electrical work is a different category of risk. The low-voltage control wiring in an opener is fine to look at. The 120-volt supply feeding the opener from the ceiling outlet, and the internal transformer on older units, are not. If an opener is dead and the outlet is live, the problem is inside the unit, and that’s a job for someone who knows how the internals of a LiftMaster or Genie drive system are laid out.
Every one of these jobs can be done safely. None of them can be done safely without training and the right tools, and the tools alone aren’t enough. That distinction matters more than most DIY content admits.
The Tools Required for Professional Work
Here’s the honest case for why “I bought the tools” isn’t the same as “I can do the job.” A professional spring replacement on a typical Norfolk door involves a specific toolkit that most homeowners don’t own, and a set of procedures for using it that only come from repetition.
- Two winding bars of the correct diameter. Torsion springs are wound with steel bars that fit sockets on the spring’s cone. Using the wrong diameter, or one bar instead of two, is how springs slip. Two bars let you alternate winding and unwinding without ever letting go of the load.
- A door support stand or the equivalent blocking. The door has to be held at the correct height while tension is removed, so it doesn’t come down on the person working under it. A ladder and a hope isn’t the same thing.
- C-clamps to lock the door position. Used to pin the door on its track while work is done, so it can’t shift under load.
- A torque wrench and the correct-size sockets for the set screws. Overtightening a set screw on a spring cone is a common failure point. Undertightening is worse.
- Spring gauges and a tape measure. Springs are sized by wire gauge, inner diameter, and length. Getting the wrong spring on the door means the door either won’t balance or won’t lift at all.
- A voltage tester for opener work. Confirms whether the outlet is live before anyone touches the unit’s internals.
Owning every item on that list still doesn’t make the job safe. The tools assume you already know how much tension is on the spring, how to check it, and what a spring that’s about to slip feels like through the bars. That knowledge comes from experience. Our technicians have up to 13 years of experience, and they still work these jobs in pairs when the door size warrants it.
The Cost Math: Maintenance vs. Repair
The DIY cost-benefit calculation looks completely different for maintenance and repair, and mixing them up is the most common mistake homeowners make. Maintenance is a small ongoing cost that saves money over time. Repair is a single job where getting it wrong costs much more than doing it right. Here’s how the two compare.
| Task | Typical North Norfolk Estimate | DIY or Pro? |
|---|---|---|
| Annual lubrication and inspection | No cost if you do it; low-cost service call if we do it | DIY is fine |
| Bottom weather seal replacement | Material cost is small; labor is fifteen minutes | DIY is fine |
| Single torsion spring replacement | Typically priced per spring, with a matched pair commonly replaced together | Professional-only |
| Matched-pair torsion spring replacement | About twice the single-spring price | Professional-only |
| Cable replacement | Priced per job by written estimate | Professional-only |
| Roller replacement | Low cost, straightforward | DIY with caution |
| Opener repair or replacement | Priced per job by written estimate | Professional-only |
| Full door replacement | Priced per job after a measure | Professional-only |
The point of the table isn’t the exact numbers. It’s that the DIY-suitable jobs are also the cheapest ones, and doing them yourself saves very little. The jobs where professional service actually costs real money are the same jobs where botching the work costs far more, in repair bills and in medical bills. The math almost always favors a professional on the second group and never favors one on the first. If you want a written price for a repair in Norfolk, that’s free, and it takes the guesswork out of the comparison.
How Norfolk’s Climate Changes the DIY Calculus
Norfolk’s weather is not harsh in the extreme sense, but it’s humid year-round and it swings between hot and humid summers and cold winter snaps. That combination does specific things to a garage door, and those things change the DIY success rate for a homeowner.
Humidity is the big one. It works on the steel fasteners holding your track brackets, hinges, and springs to the door frame, and it slowly produces corrosion on the surfaces you can see and the threads you can’t. A door that’s been in place for fifteen years in Norfolk often has bolts that look fine until you try to back one out. The corrosion welds them to the wood or metal behind, and the force it takes to break them free can crack a hinge, twist a bracket, or strip a bolt head entirely. If a fastener fights you on a Norfolk door, stop and treat it with penetrating oil and time rather than forcing it. Even with that, some jobs that look simple in a video are twenty minutes of hassle here.
Winter cold makes door hardware behave differently, too. Springs get more brittle in cold weather, which is why spring failures cluster in the cold months. A spring that’s been quietly weakening all summer is more likely to snap on the first genuinely cold morning of the year. If your door has gotten noticeably heavier or more reluctant to lift as the weather has turned, that’s a sign to get it looked at, not a job to take on.
Summer heat loosens the wood in older garage frames, and that can change how the track sits relative to the door. A track that was properly aligned in April may be out of line by July in a Florida-style summer. A minor misalignment is sometimes a homeowner fix, but a recurring one points to a structural problem with the frame, and that’s worth a look from someone who has seen how older Norfolk garages are constructed.
If You’ve Already Tried the Repair, Tell Us This
Here’s a conversation we have more often than you’d think: a homeowner got partway into a repair, realized it was over their head, and wants it finished. That’s fine. Nobody’s judging. But there’s a right way to hand it off and a wrong way.
Tell the technician what you’ve already done. That means which parts you removed, which fasteners you loosened, and what tools you used. It matters for a specific reason: the door may be in a state the technician wouldn’t otherwise see, and knowing how it got there changes the diagnosis.
Tell them if you replaced anything. If you swapped a roller, a hinge, or a weather seal, say so. Aftermarket parts aren’t always the same dimensions as the originals, and a mismatched roller can throw off the track alignment or change how the door runs. It changes the repair the technician recommends.
Tell them if the door moved unexpectedly. If the door came down, went crooked, or made a noise during your attempt that it wasn’t making before, that’s critical information. It can mean a spring has lost tension, a cable has slipped a drum, or a roller has jumped the track. Those are exactly the things a technician needs to know before they put a hand on the door.
There’s also a liability dimension. If a professional repairs a door and the repair fails later, the professional’s work is what’s being evaluated. If a failed homeowner repair is part of the story and wasn’t disclosed, the diagnosis and the warranty expectations get murky. Honest disclosure protects you. Any good garage door repair visit starts with a conversation about what’s been done already.
Openers Are Their Own Category
Everything above is about the door. The opener is a separate system with its own safe and unsafe tasks, and it’s worth a section to itself because the mechanical and electrical risk profiles don’t line up.
Safe to do yourself on an opener:
- Replace the battery in a remote or keypad
- Re-pair a remote to the opener using the learn button (which on LiftMaster, Chamberlain, and Craftsman units is a labeled button on the back or side of the housing)
- Adjust the force and travel limit screws on the side of the unit, if you follow the manual carefully
- Test the safety reverse and the photo-eye sensors
- Reset a unit that’s gone completely dead by cycling power at the wall switch or breaker
Not safe to do yourself:
- Any work inside the opener housing, because of the 120-volt supply and the internal transformer
- Replacing a drive gear or trolley on a Genie or LiftMaster unit
- Replacing a motor or logic board
- Rewiring anything between the opener and the wall switch
The common failure pattern on openers is mechanical: the drive gear wears, the trolley jams, the logic board loses its pairing. Those are fixable jobs that don’t require replacing the whole unit, which is why opener-specific garage door opener repair is its own specialty. A door-only contractor will often recommend a new opener because they don’t do opener repair. We work on the equipment you have, whether that’s a Clopay door on a Chamberlain opener or an Amarr door on a LiftMaster. The opener is diagnosed on its own terms.
Common Mistakes to Avoid
- Treating a YouTube spring video as a repair manual. A spring replacement is presented as a clean eight-minute job because the video edits out the parts where a professional checks the load and takes their time. Watching it doesn’t give you the training the technician has.
- Forcing a corroded fastener on an older Norfolk door. Corrosion turns a fifteen-minute job into two hours and a stripped bolt. If a fastener won’t budge, use penetrating oil and give it time before trying again.
- Lubricating the tracks because the door is squeaking. Squeaks come from hinges and rollers, not tracks. Greasing the tracks attracts grit and wears out the rollers faster.
- Adjusting an opener’s force setting to compensate for a heavier door. If the door got heavier, the spring is the problem. Turning up the opener’s force just makes the opener work harder on a door that’s going to stop lifting anyway.
- Replacing one spring when both are worn. Matched springs wear at the same rate. Replacing one and leaving the other is a short-lived repair, and it’s why a matched pair is usually the right call on a Norfolk door.
- Hiding a failed DIY repair from the technician. A door that’s been partially disassembled tells a different story than one that failed on its own, and the technician needs to know which they’re looking at.
- Assuming a small dent means the panel is fine underneath. A panel that’s been struck can hide bent hinges or a bent track behind it. Cosmetic repair without an inspection can leave a structural problem in place.
See the difference
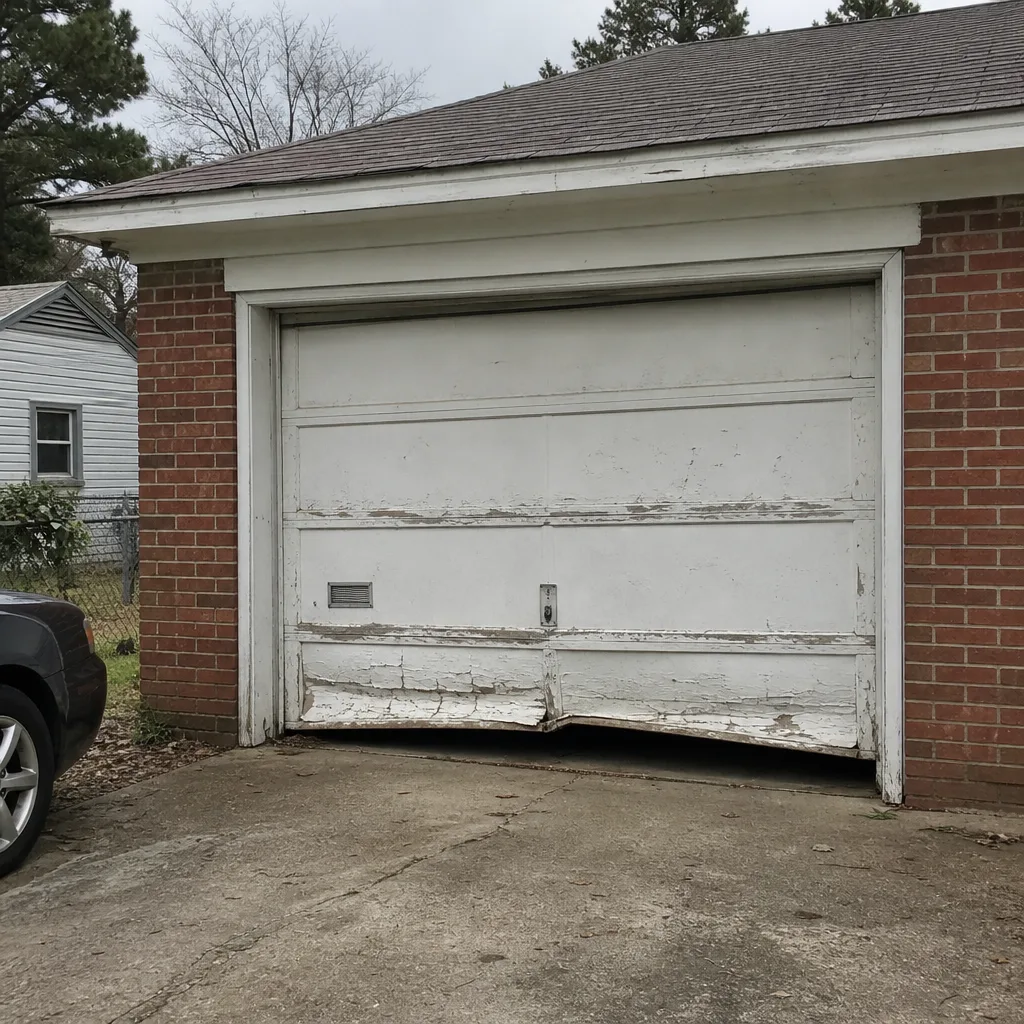 Before
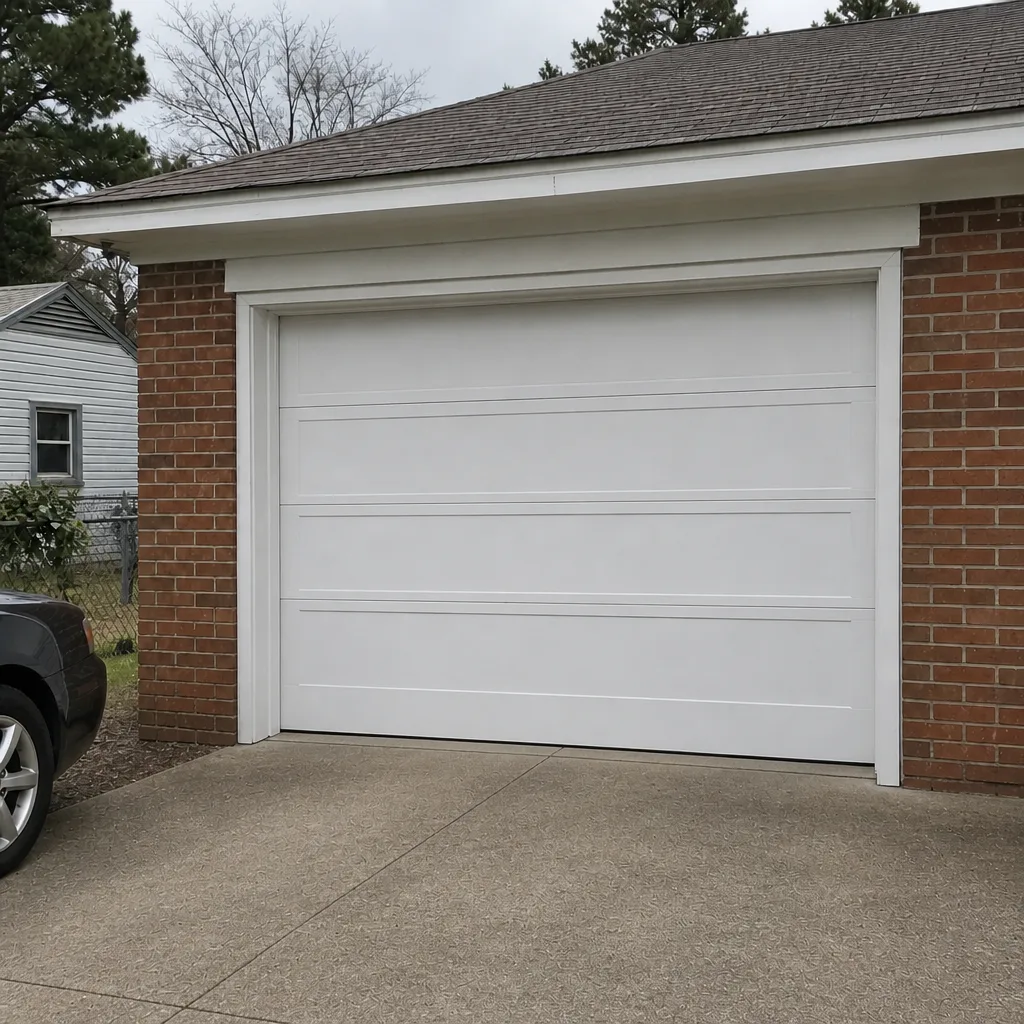 After
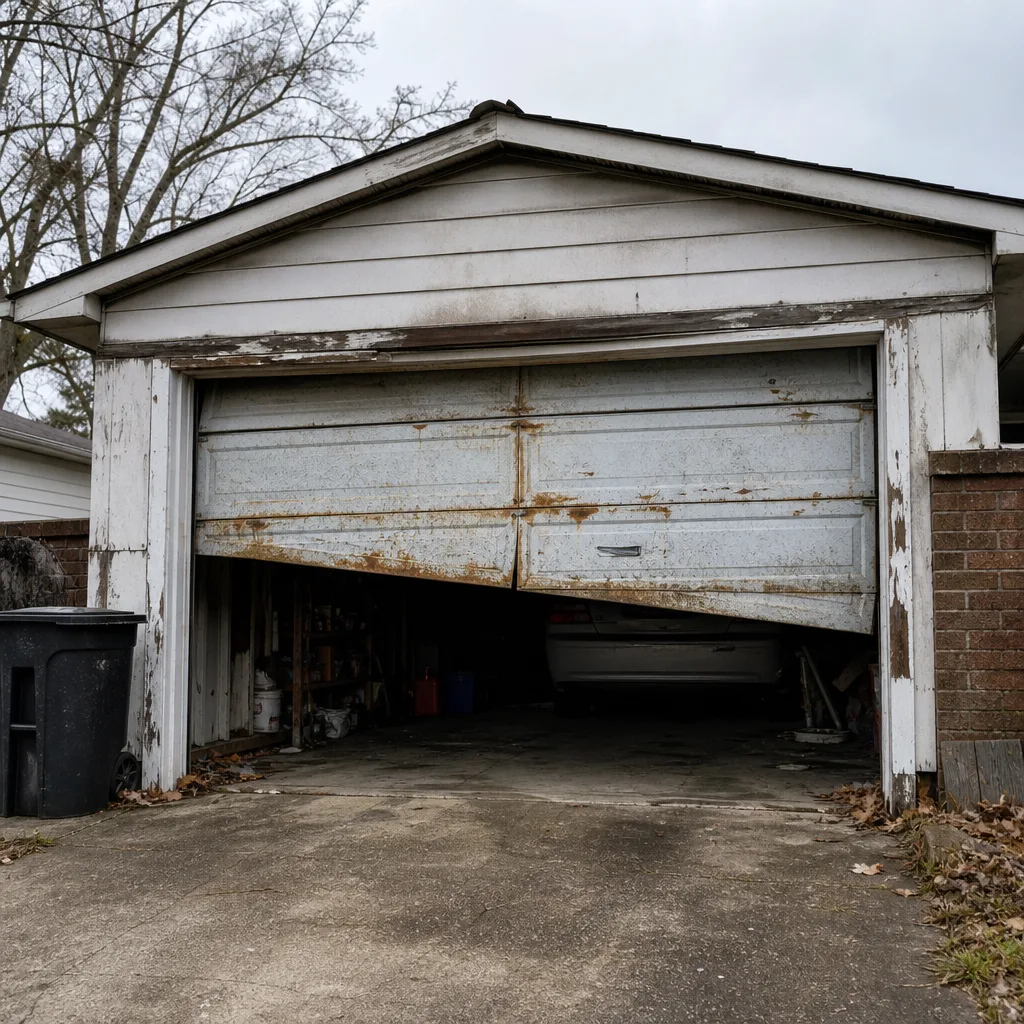 Before
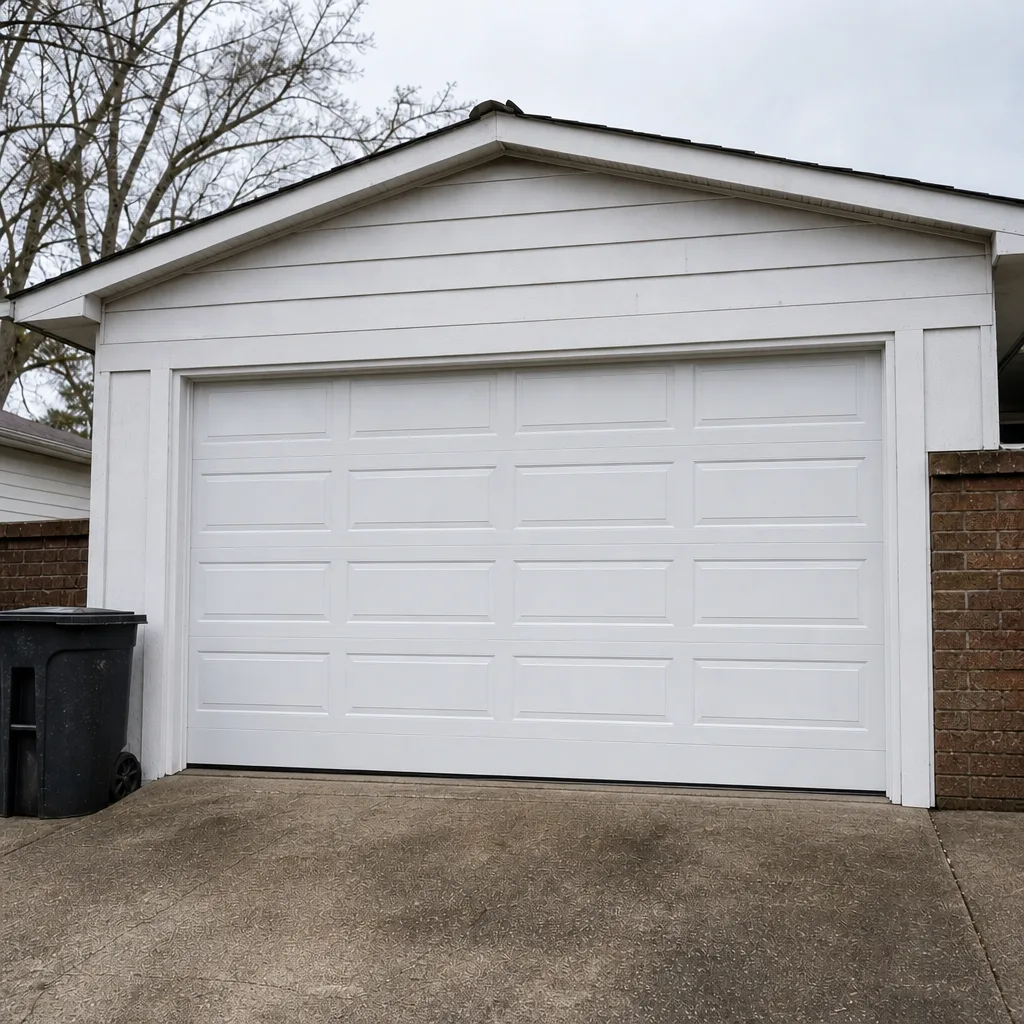 After
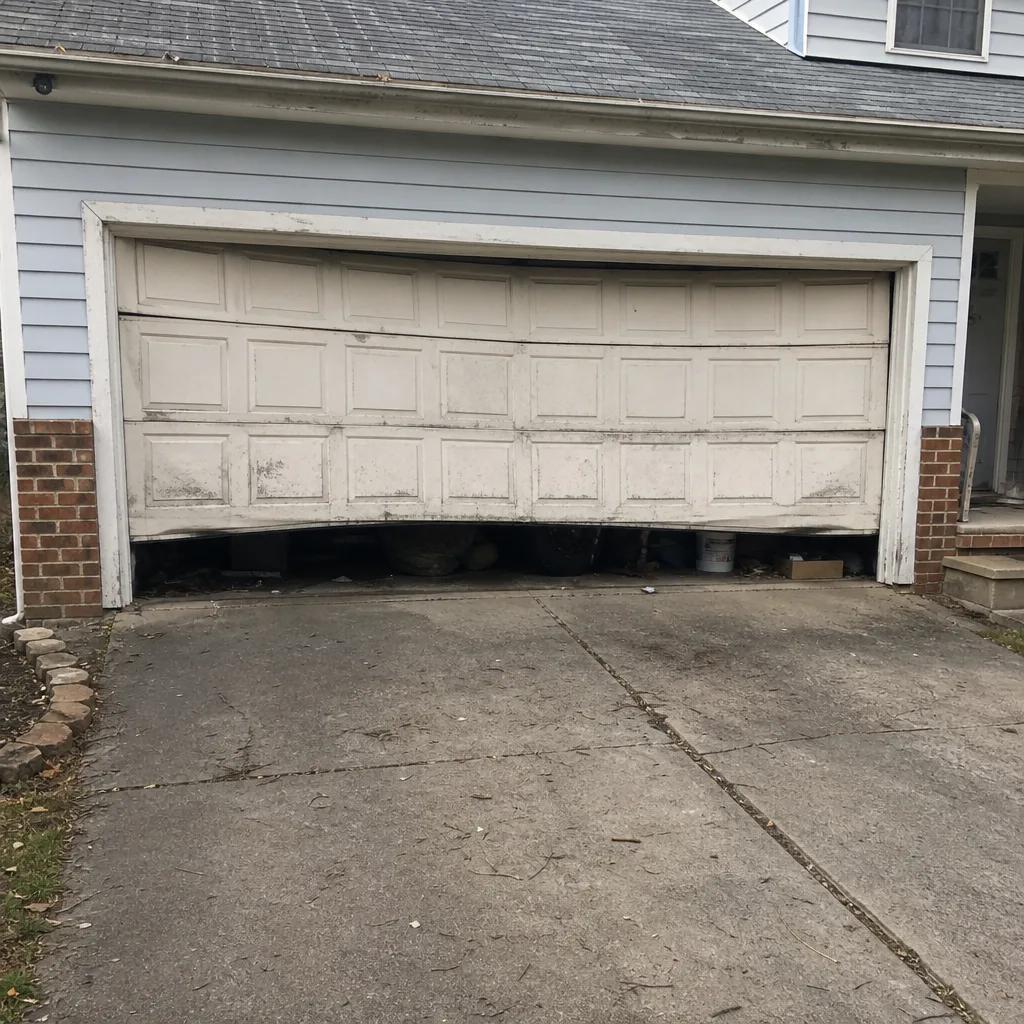 Before
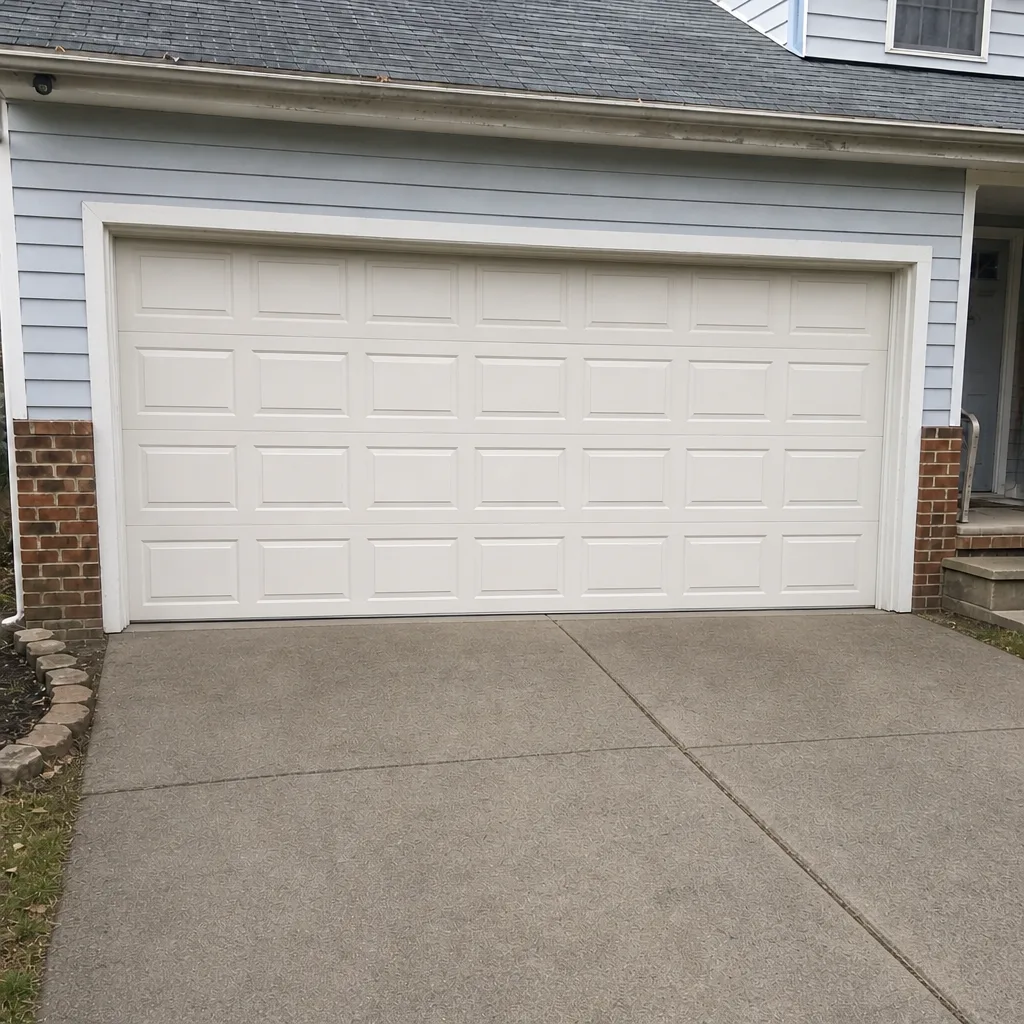 After
When to Call a Professional
Some situations call for a call, not a YouTube video and a Saturday. If the door has stopped lifting entirely, if you can see a spring that’s broken or visibly stretched, if a cable is loose or off its drum, if the door has come off one of its tracks, or if the opener won’t respond to any reset, those are professional jobs. So are the jobs where the door is technically working but getting noticeably harder to lift, noisier, or uneven – those are early signs of a spring or balance problem, and they’re much cheaper to catch early. Juniper Garage Door Repair offers free estimates in Norfolk – call (877) 384-9329. We answer 24/7. Fast dispatch from 7am to 7pm, Sunday through Friday.
Frequently Asked Questions
You shouldn’t. A torsion spring stores enough energy to cause serious injury if it releases unexpectedly, and the process of winding or unwinding it requires two correct-size winding bars and training in how to use them. The electric bill savings aren’t worth the risk. If you’ve already started the job, stop, leave the door in the position it’s in, and call a professional to finish it. Call (877) 384-9329 for a free estimate. We answer 24/7.
If the task involves the spring, cables, bottom brackets, track realignment beyond a minor bend, or the inside of the opener, it’s professional work. If it involves cleaning, lubricating, testing, or replacing a weather seal, it’s a reasonable homeowner job. When you’re not sure, a free estimate is the cheapest way to find out which side of the line it falls on.
Springs get more brittle and lose tension in cold weather, which is why spring failures cluster in the cold months. A door that lifts easily in summer and feels heavy in winter is telling you the springs are wearing. That’s worth a look before the spring breaks entirely, and before anything else in the door gets stressed by the extra load.
Not necessarily, but the price depends on what state the door is in when the technician arrives. A partially disassembled door takes more time to assess and resettle, and a mismatched or missing part takes replacement. Tell the technician what you did and the estimate reflects reality rather than a guess. The written estimate sets the final price before any work starts.
Usually not. Torsion springs on a garage door are installed as a matched pair and wear at the same rate. Replacing one and leaving the other typically means the older spring fails soon after. A professional estimate will price the pair out so you can see the real difference. Call (877) 384-9329 for a quote on a matched pair.
We work on the equipment that’s already in your garage, not just the brands we sell. Our technicians are factory-familiar with eight of the industry’s most common brands: LiftMaster, Chamberlain, Genie, Clopay, Amarr, Wayne Dalton, Craftsman, and Raynor. That means we arrive already knowing how your specific system is put together, whether that’s a Clopay door, a Wayne Dalton opener, or a Craftsman unit that’s been in place for a while.
The Bottom Line
The DIY-versus-professional question isn’t really about skill level. It’s about which jobs carry genuine risk and which ones don’t, and the honest answer is that the two lists are much further apart than most content on this topic lets on. Lubricating hinges, replacing a weather seal, and testing the safety reverse are safe, useful homeowner work in a Norfolk garage. Torsion springs, cables, bottom brackets, and the inside of an opener are not, no matter how many videos you watch or tools you buy. If you’d like a professional eye on a specific door or opener, we’re happy to take a look. Call Juniper Garage Door Repair at (877) 384-9329 for a free estimate. We answer 24/7. Fast dispatch from 7am to 7pm, Sunday through Friday. More about our full range of services is on our Juniper Garage Door Repair page, and Norfolk-specific details are on our Norfolk page.
Written by the team at Juniper Garage Door Repair.